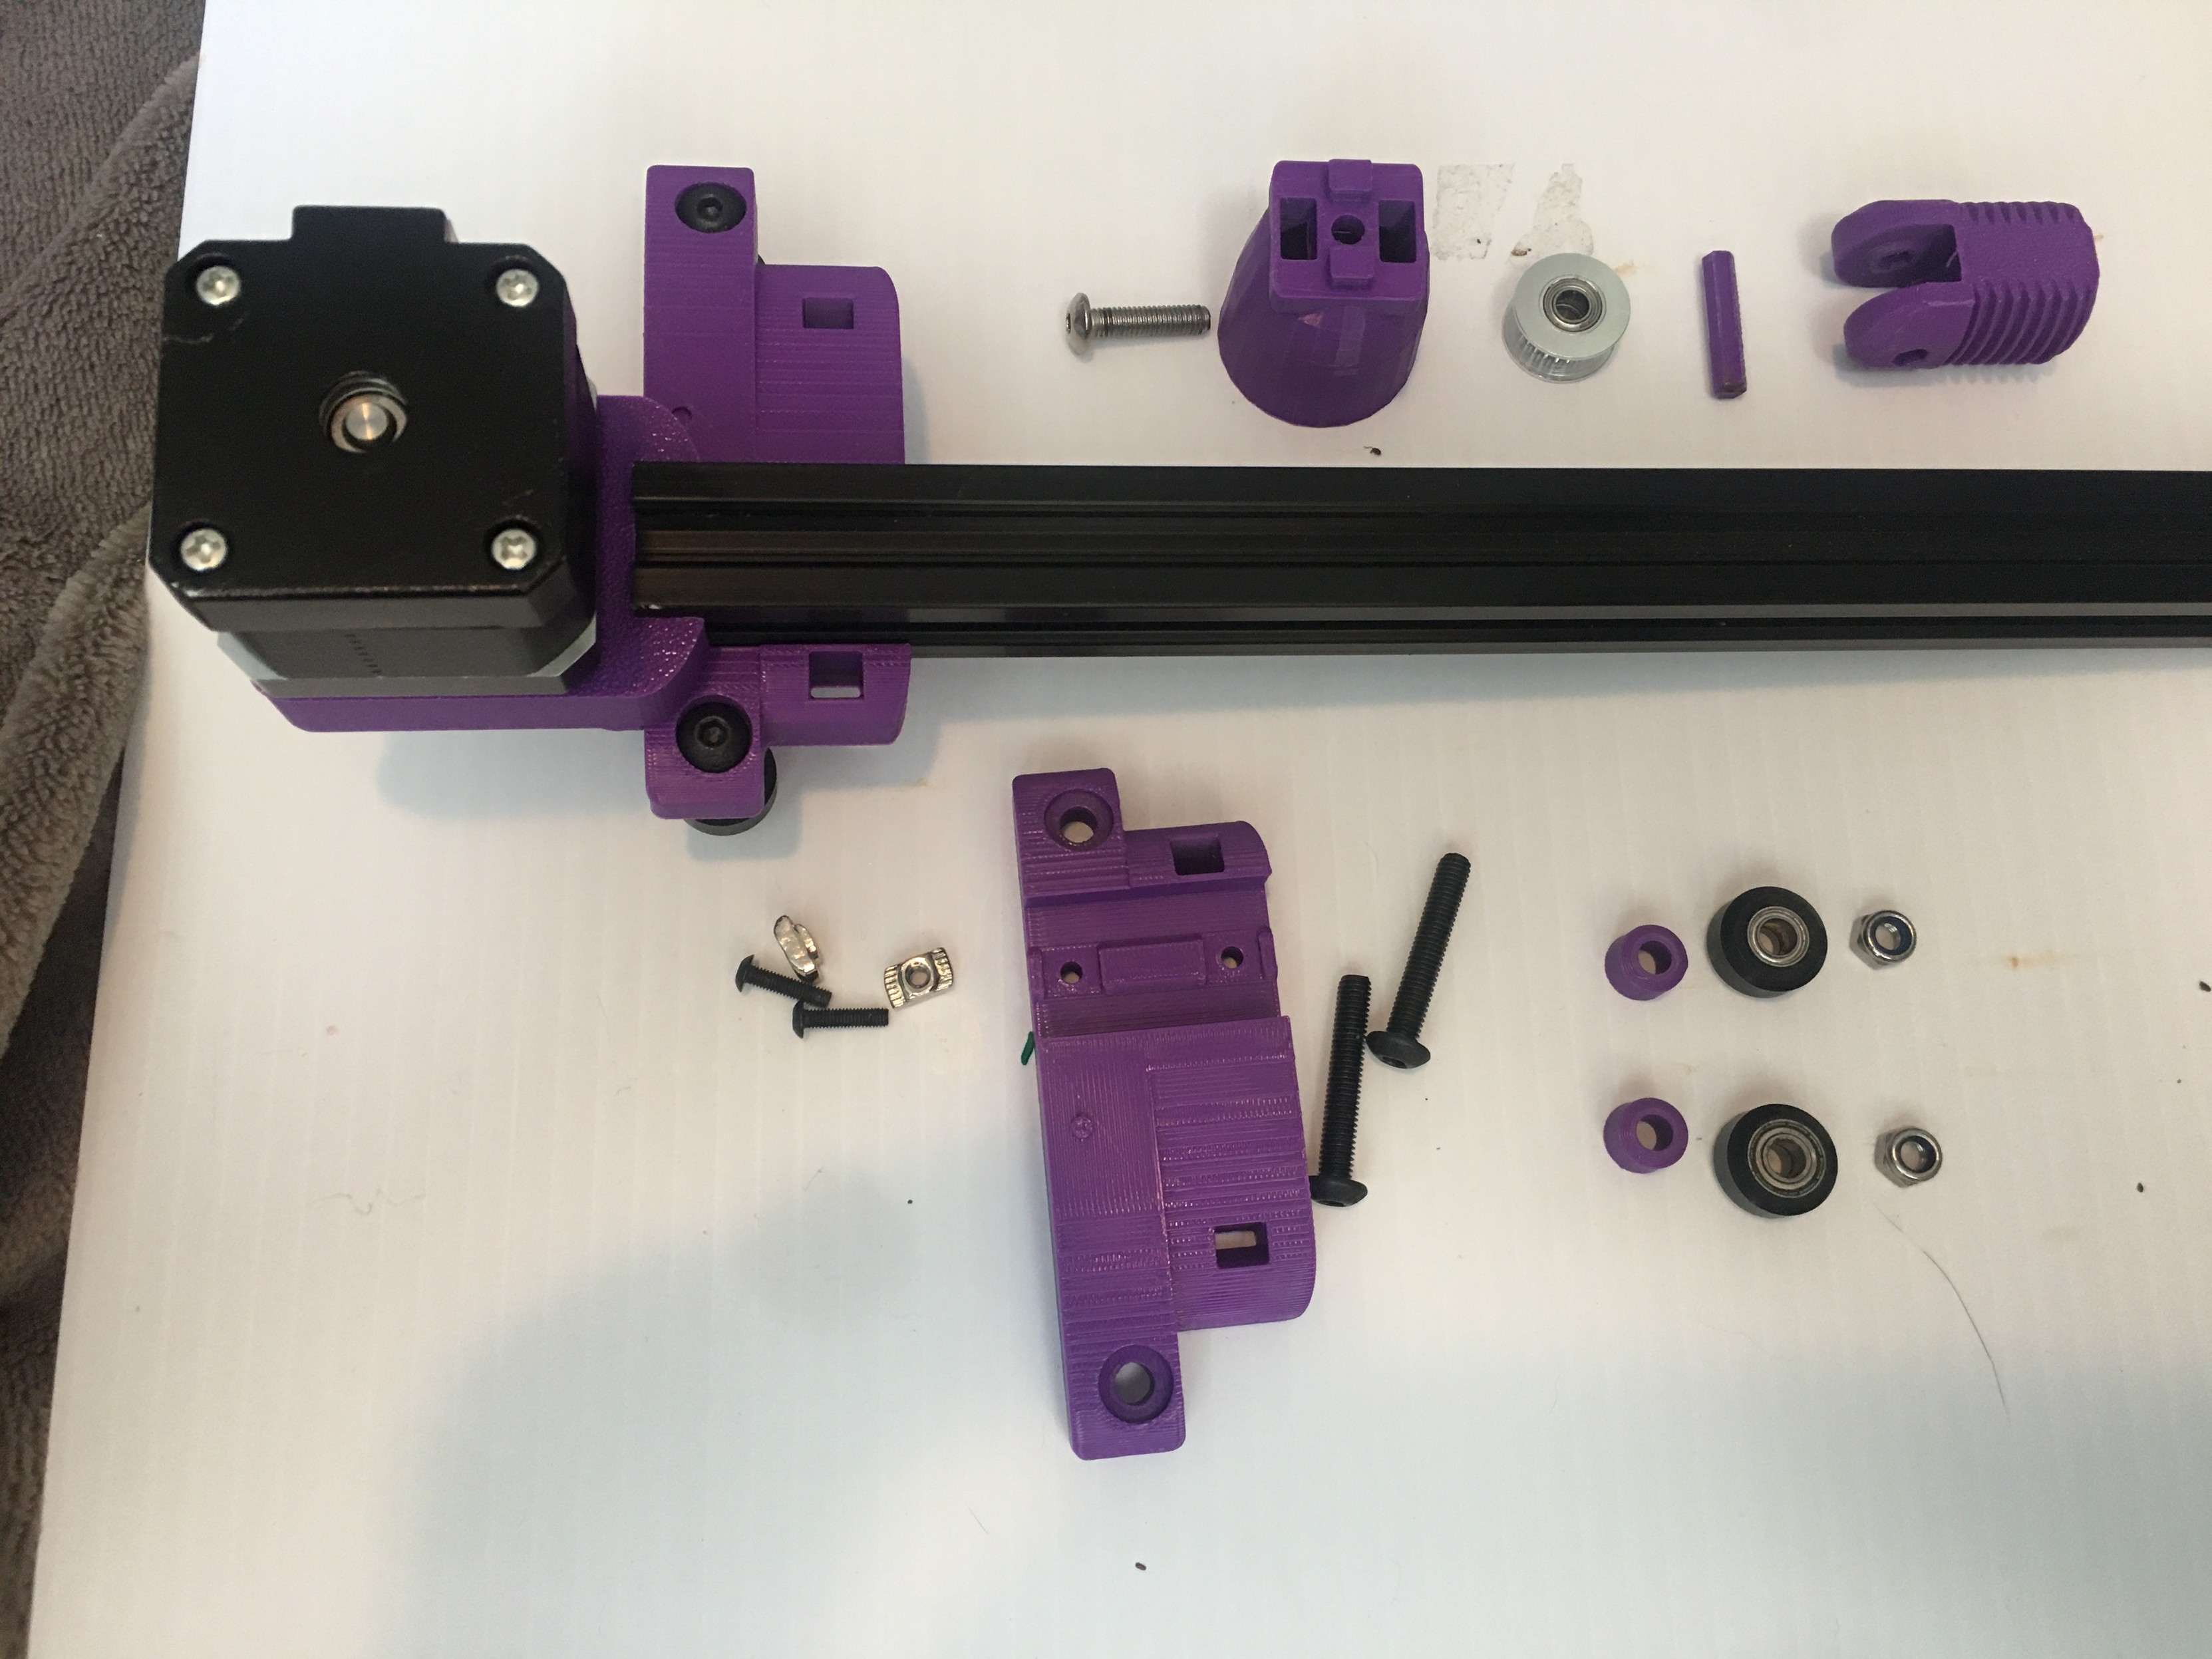
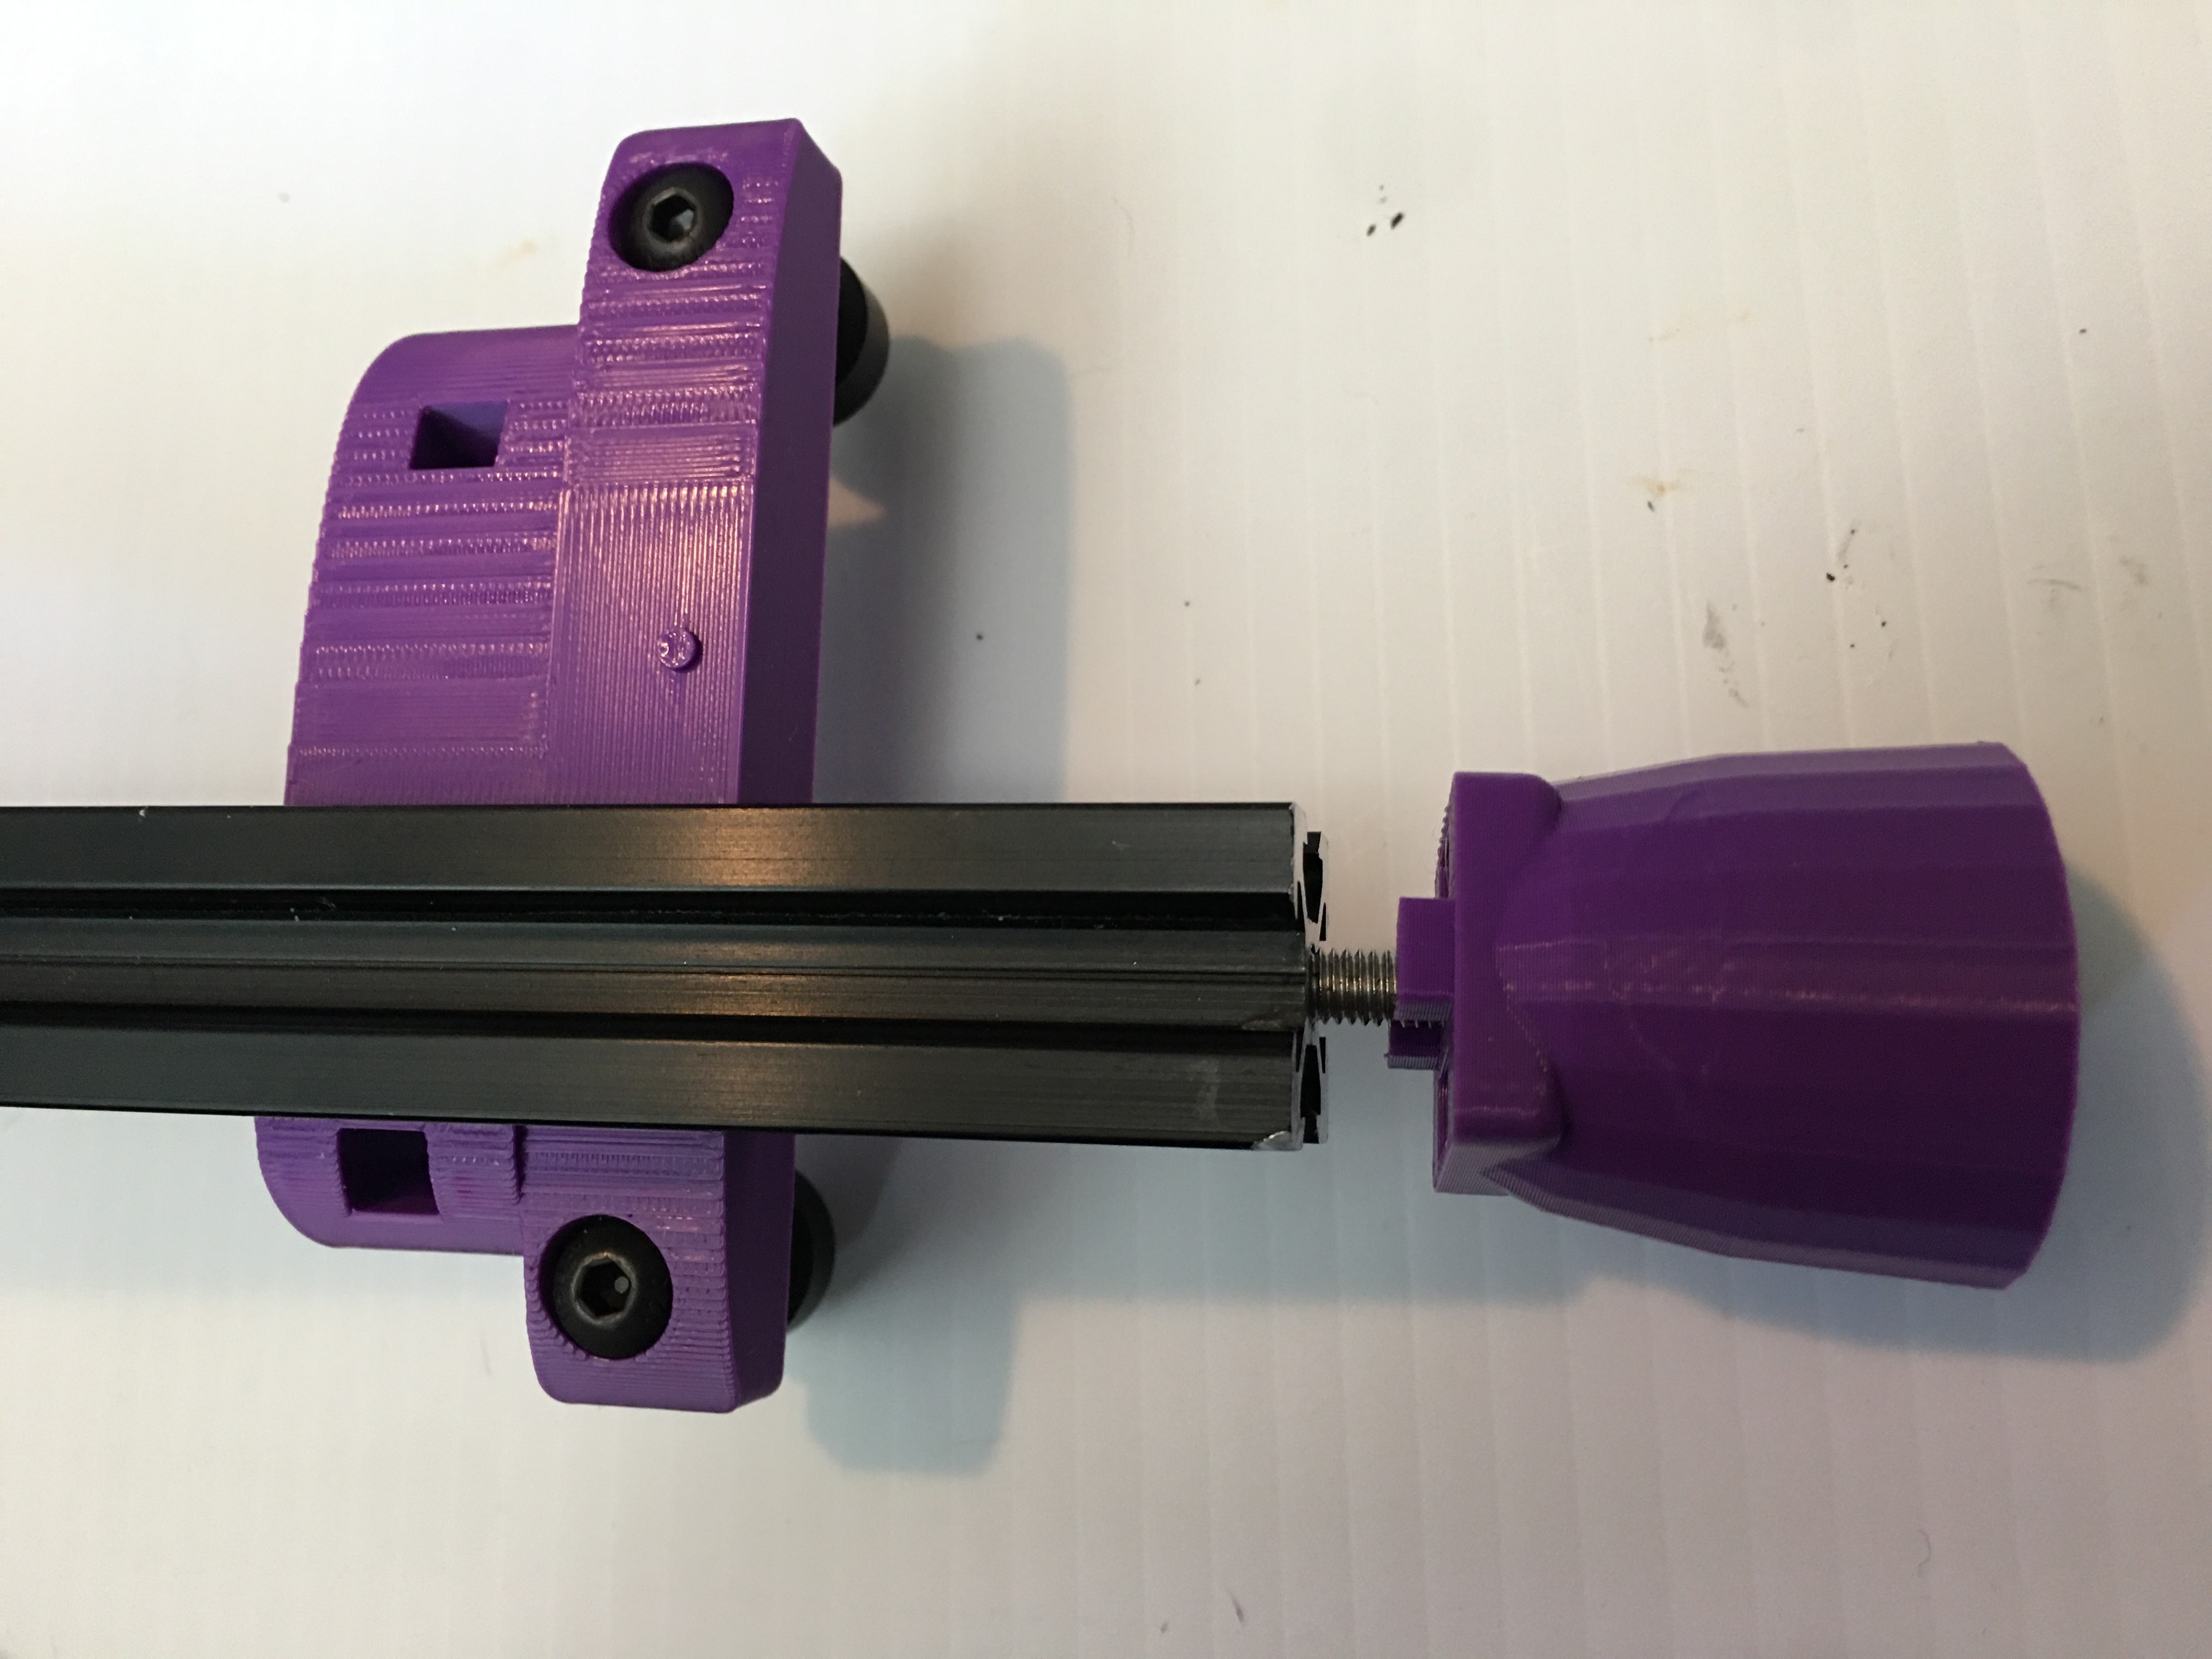
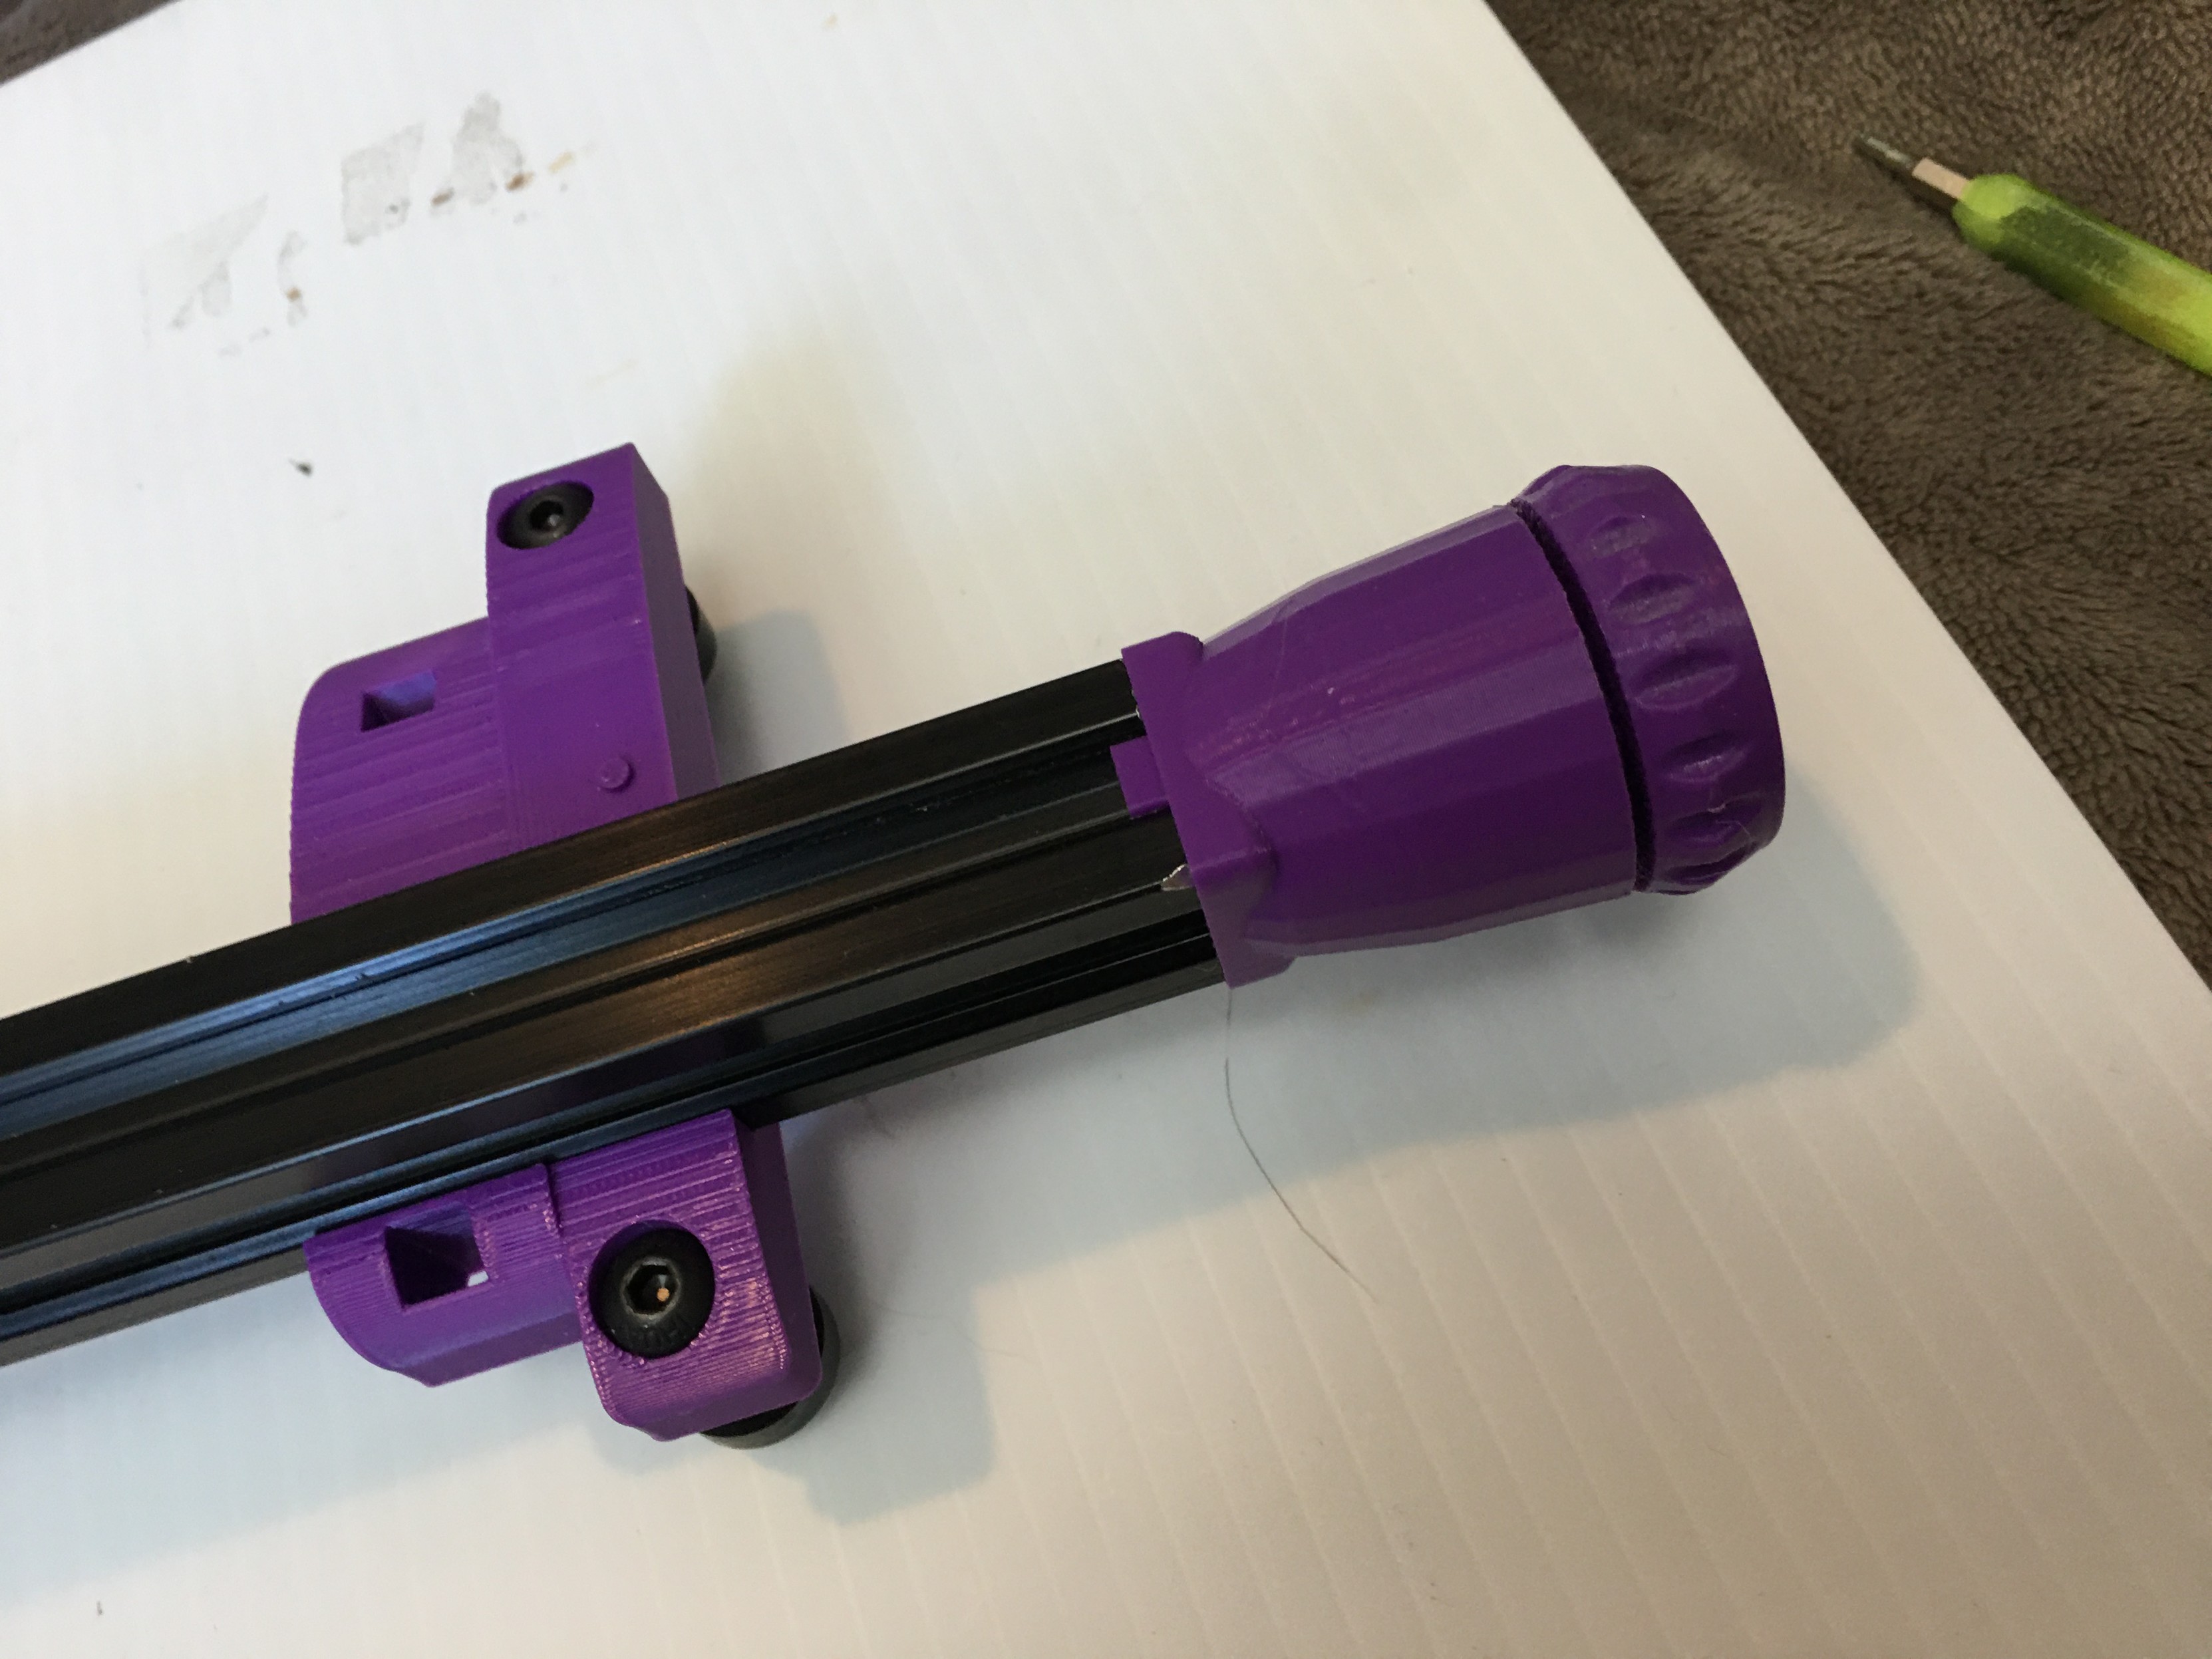
Continue #plotterbuild today, left side of pen rail: y axis belt/roller mount and X axis belt tensioner. Parts:

Pen rail assembly

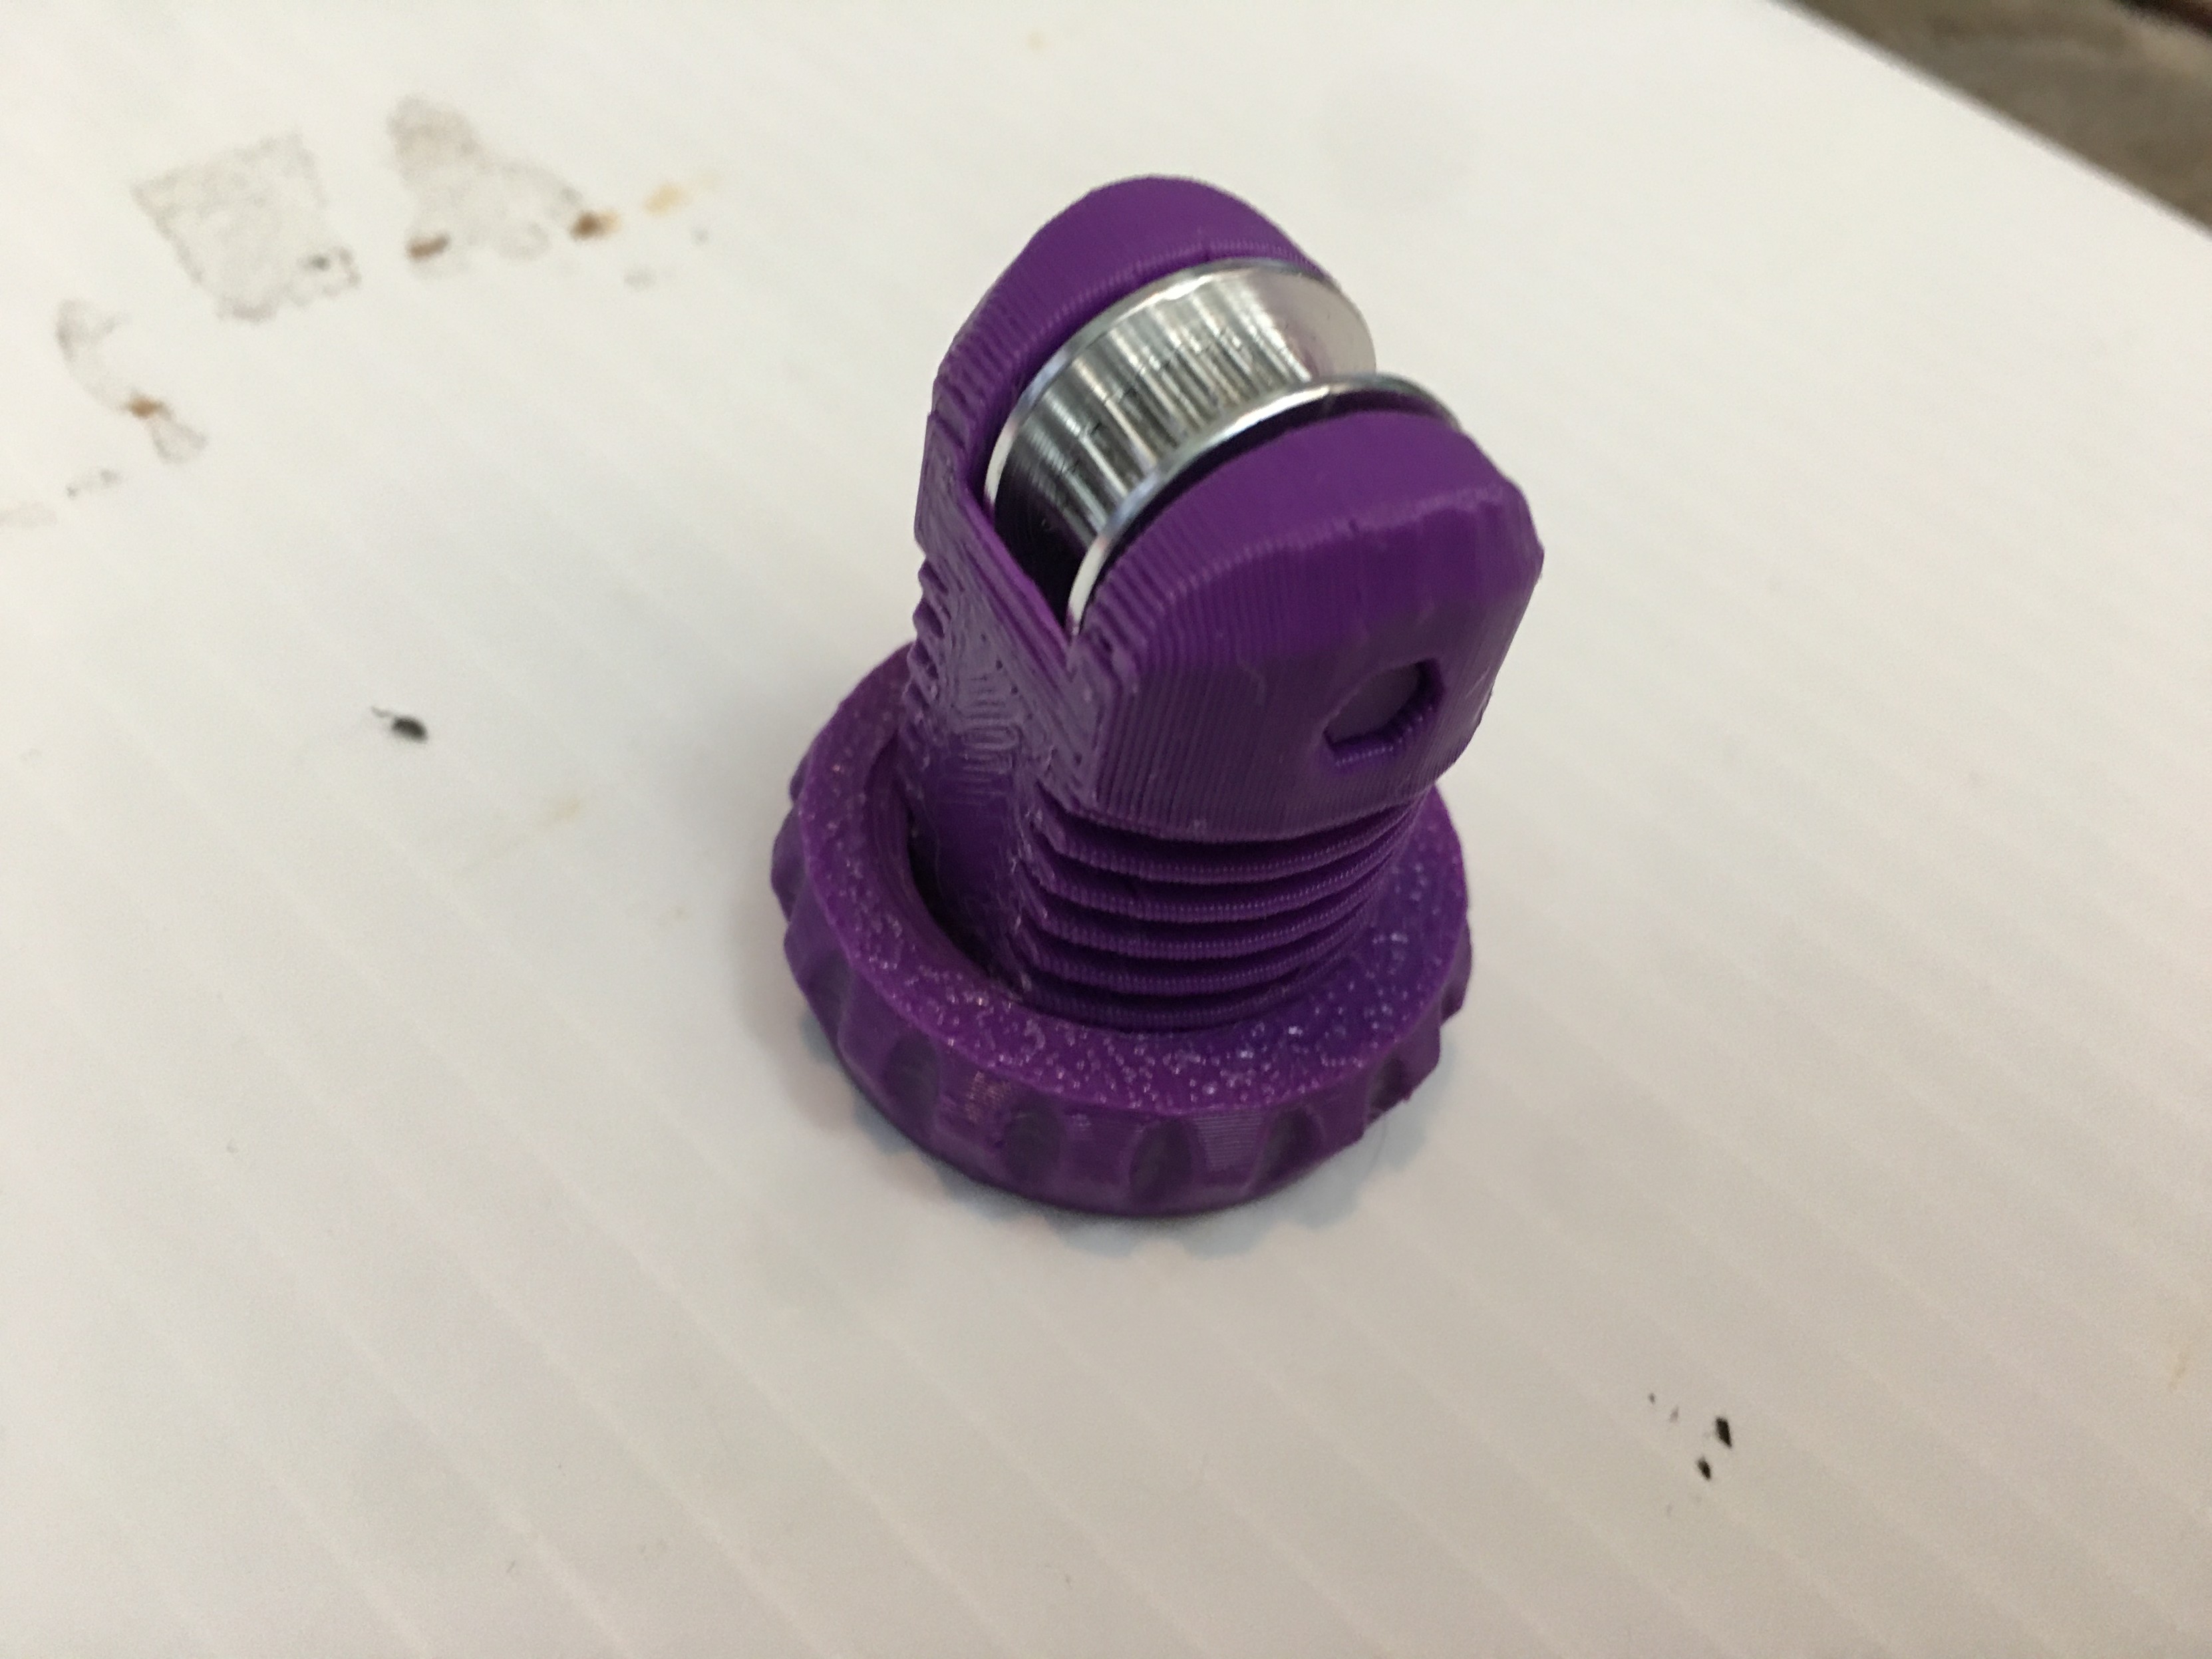
1x 5x12mm machine bolt

1x 5mm bore 20 tooth GT2 idler pulley

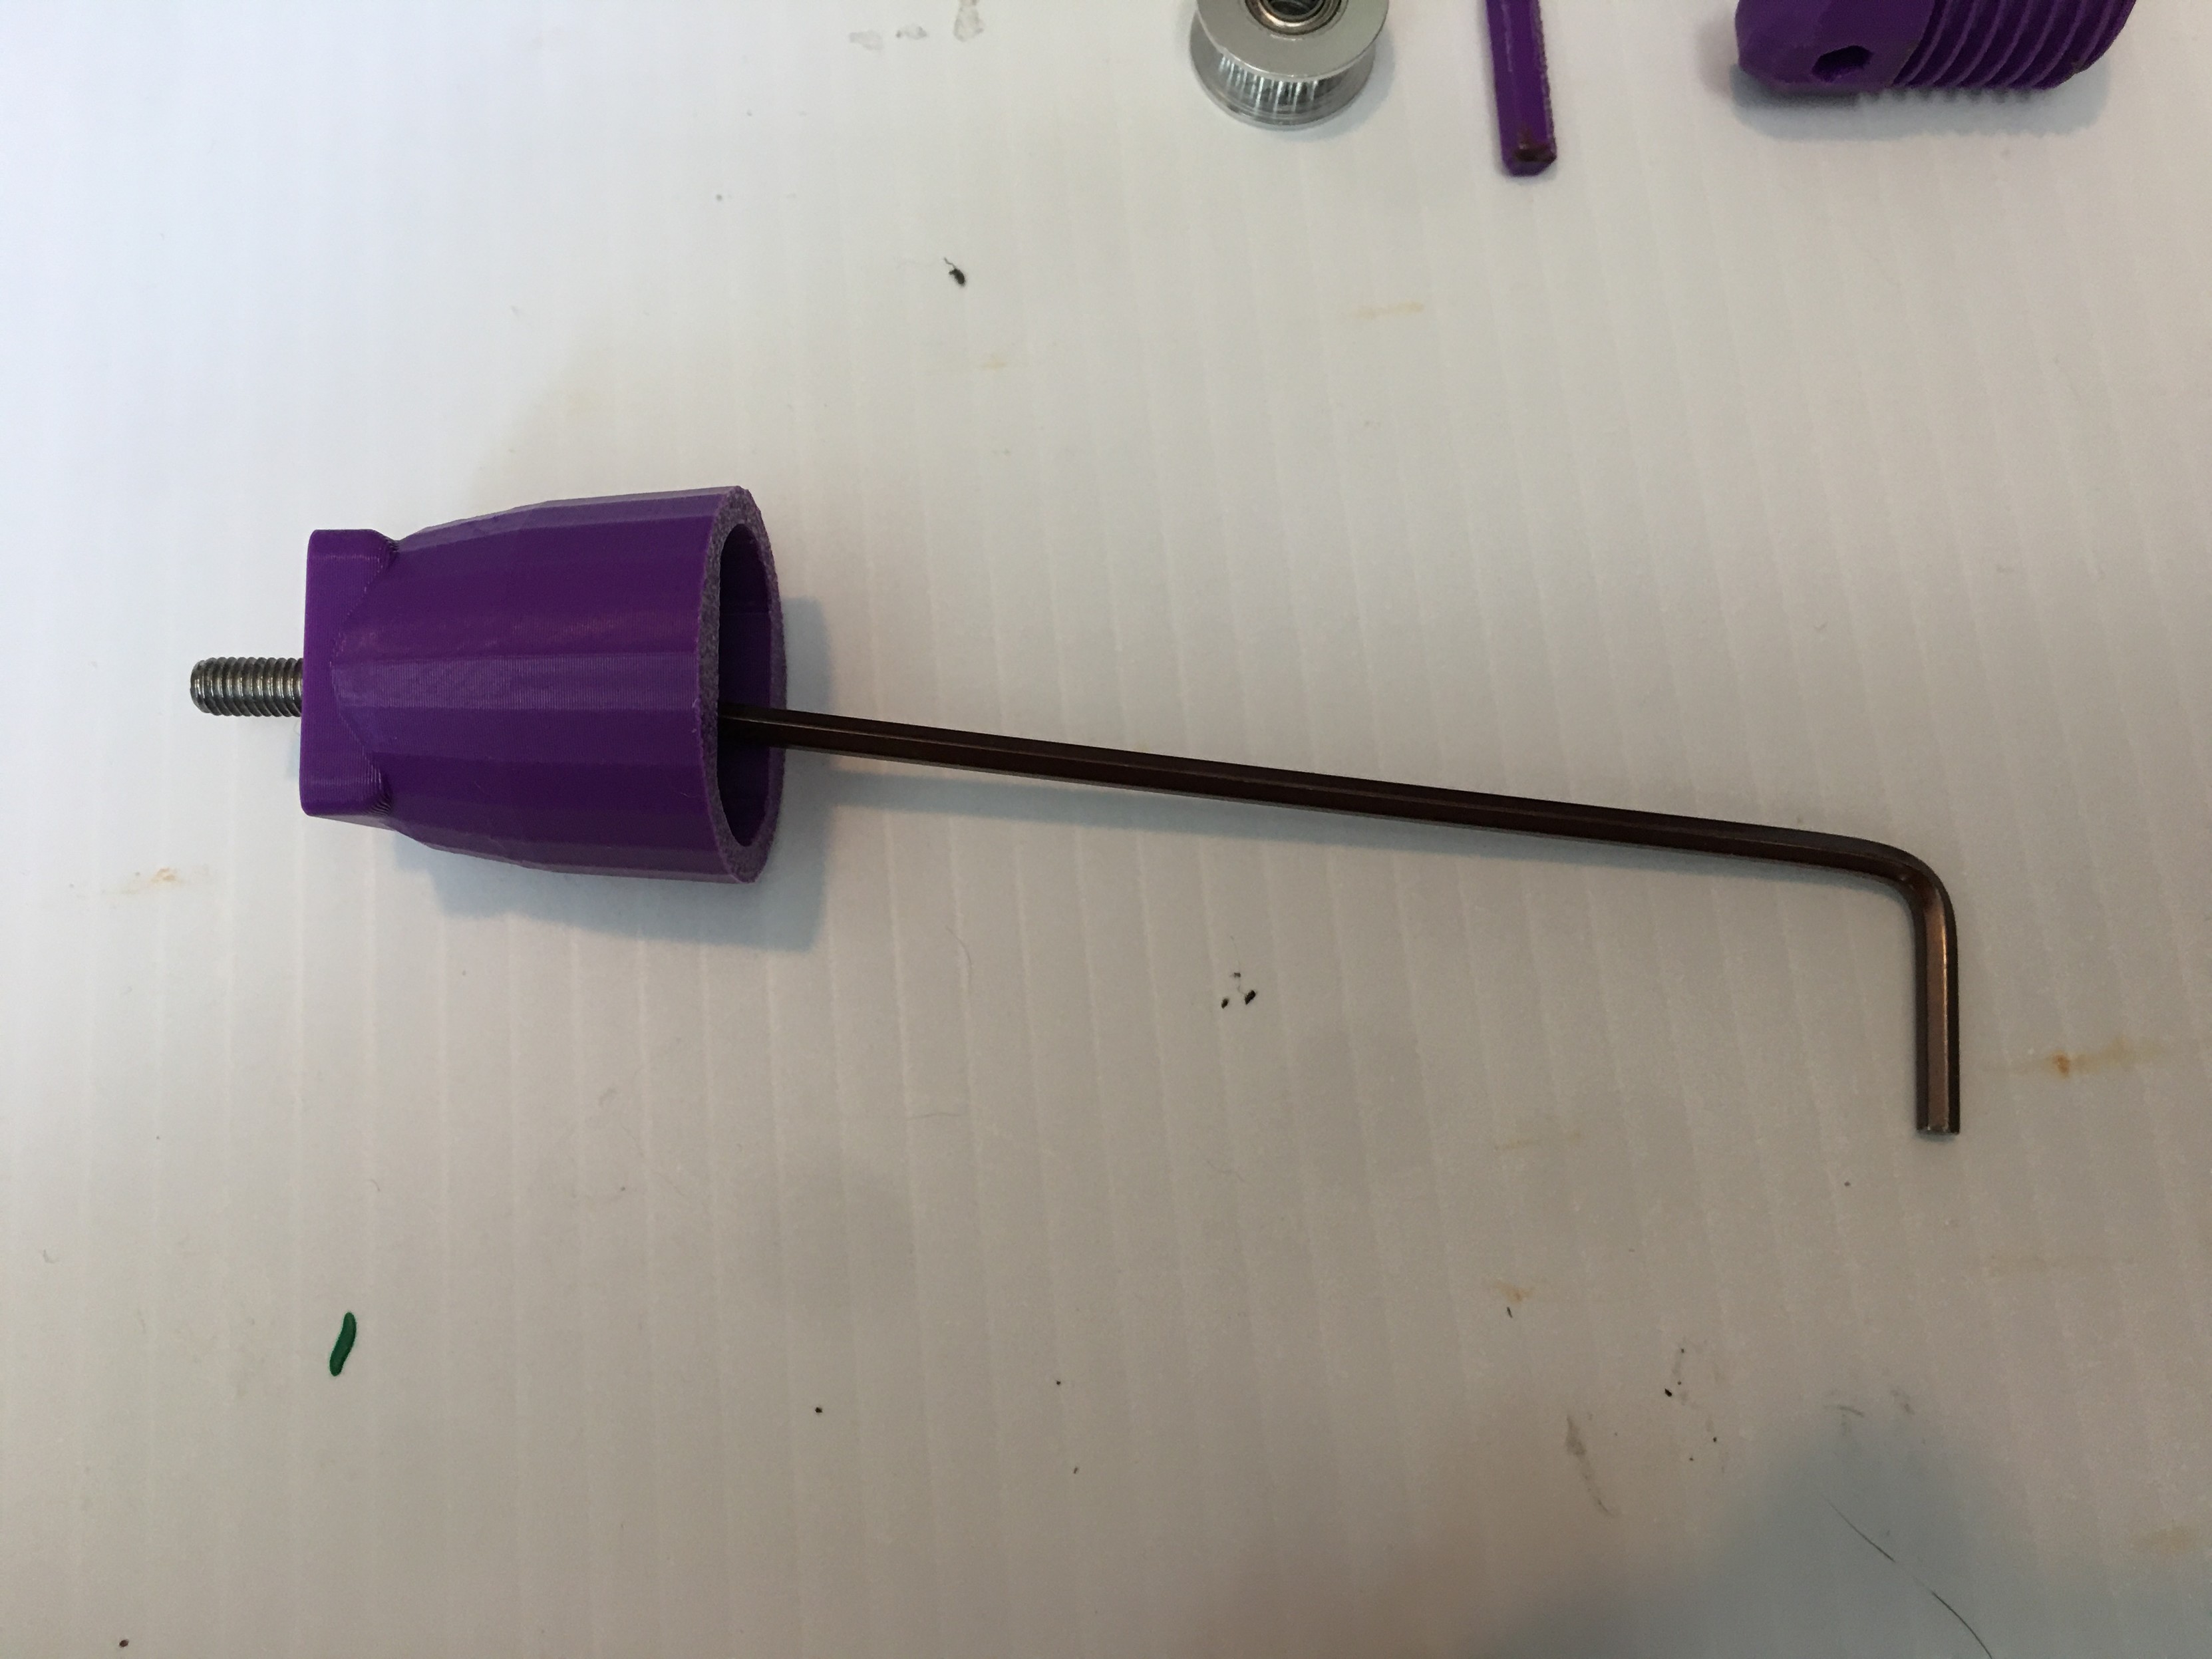
Printed Tensioner housing

Printed tensioner and tensioner nut (not shown)

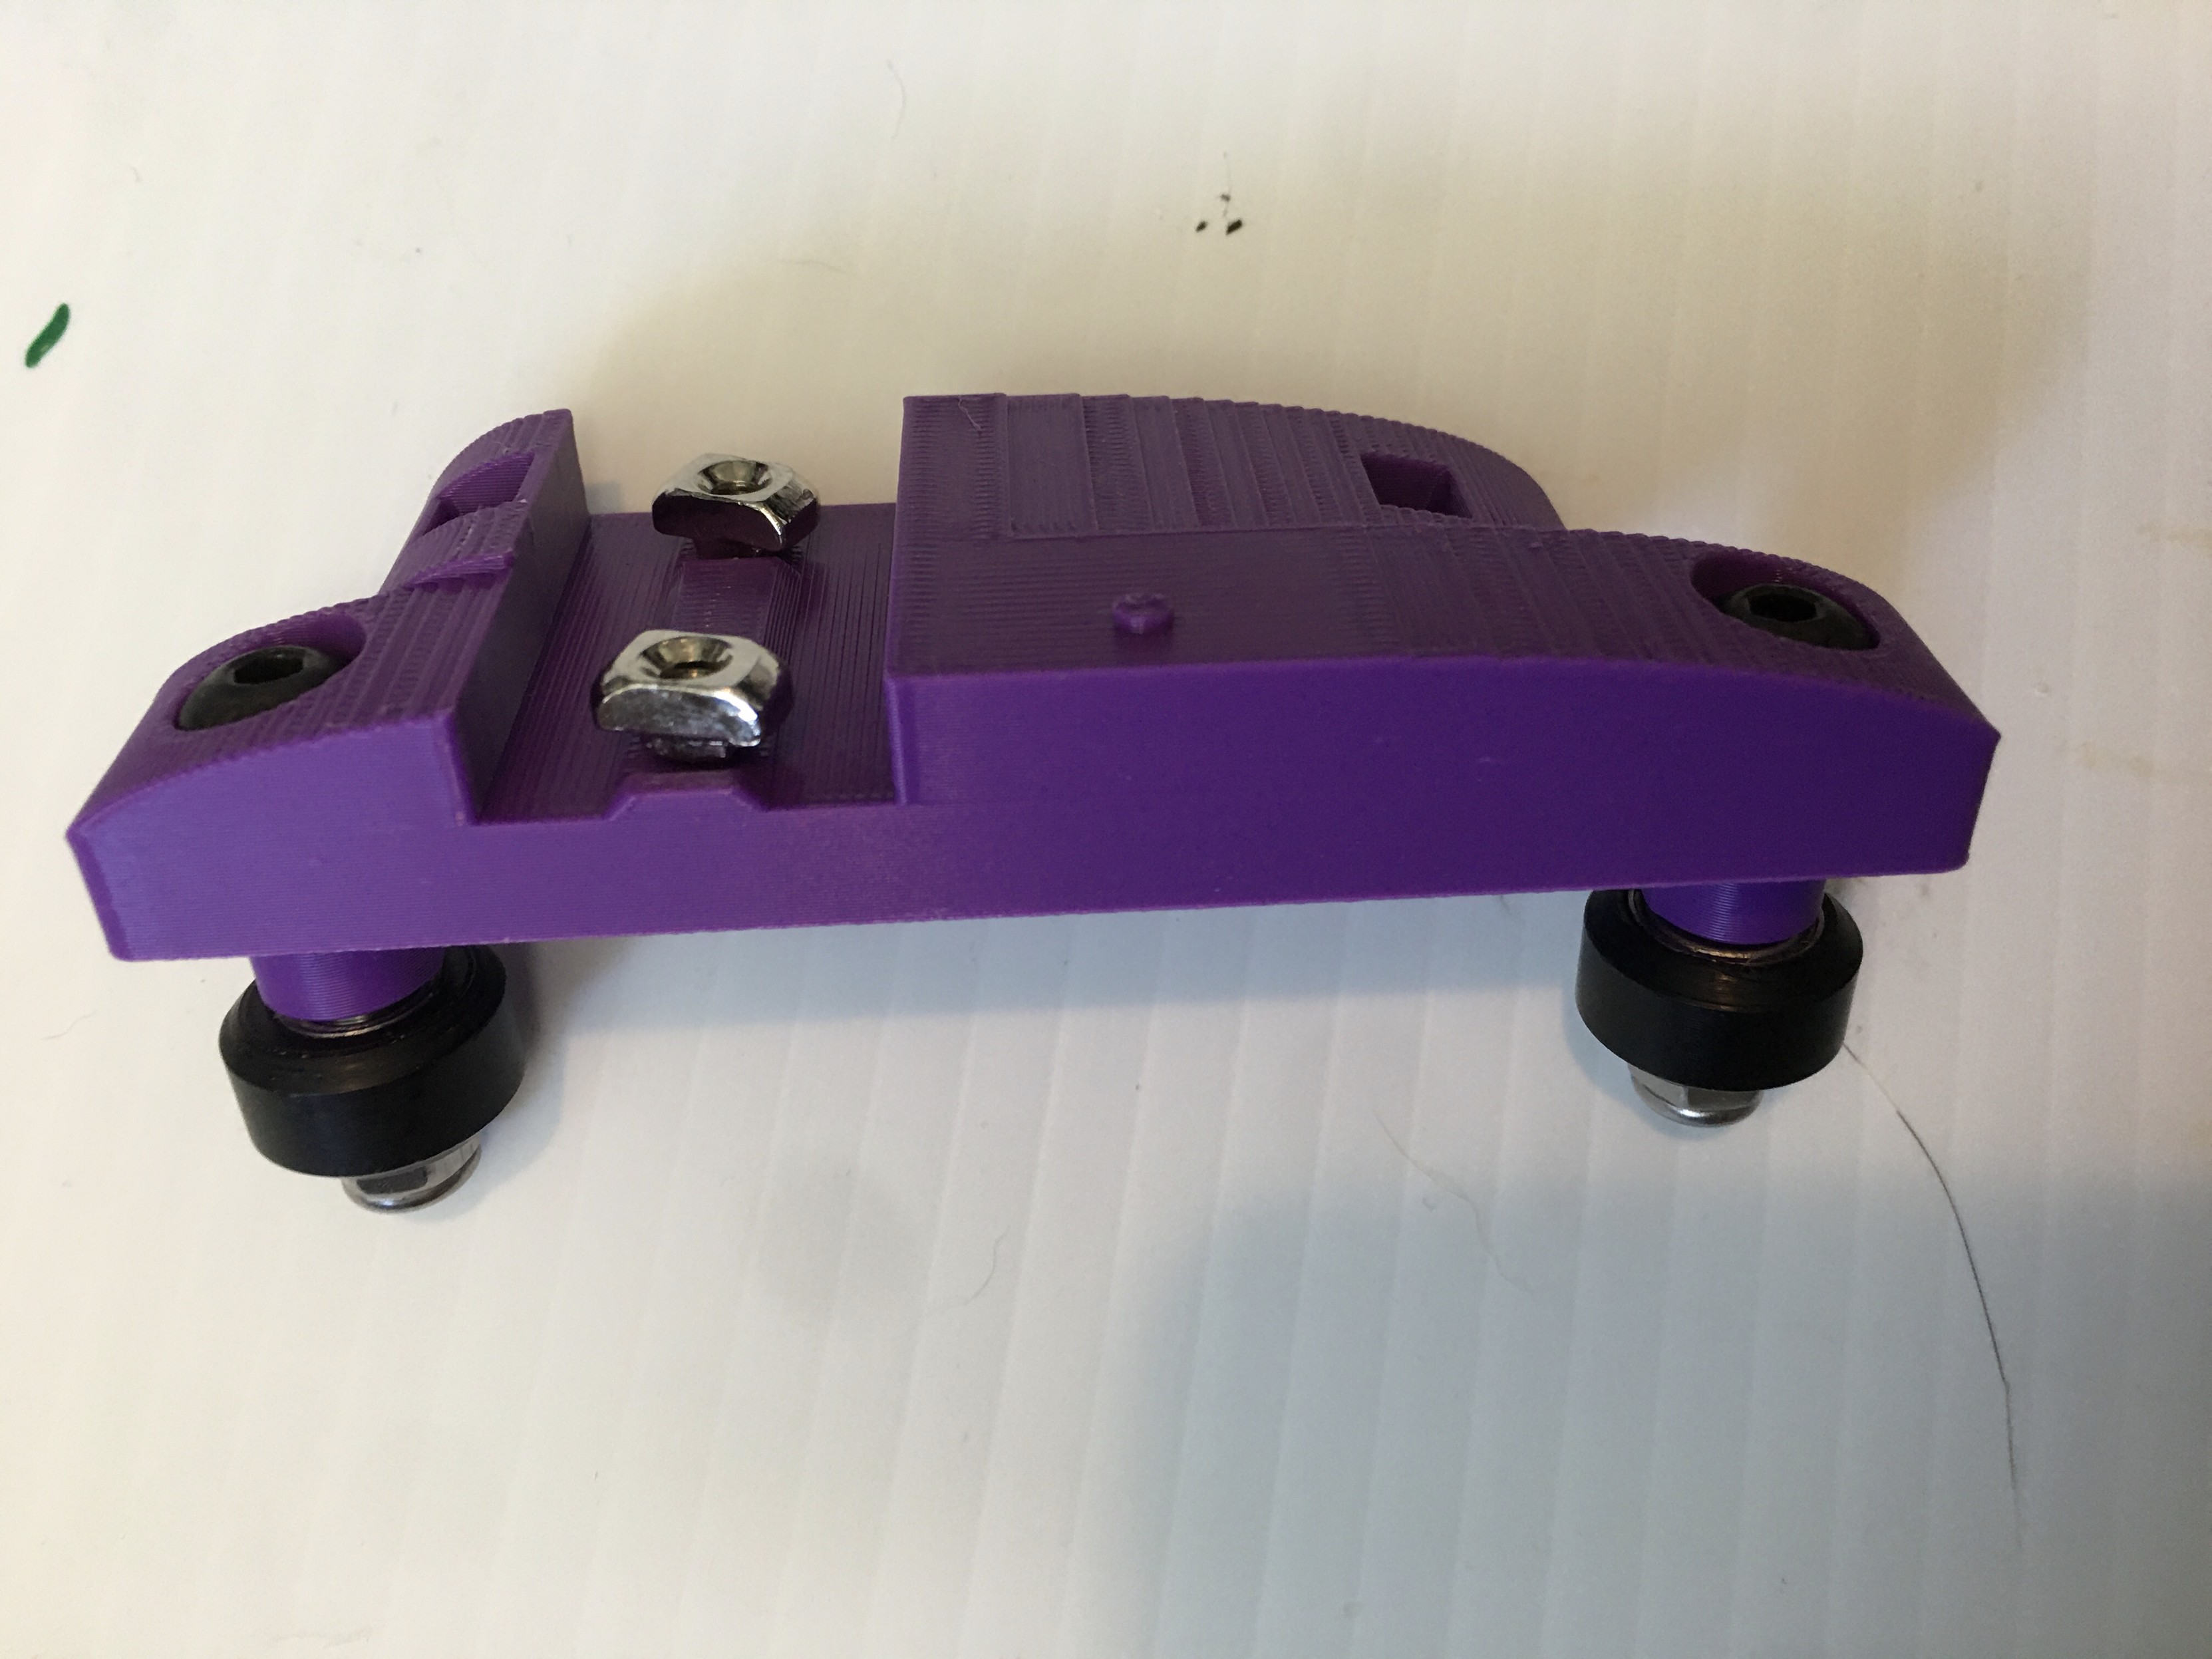
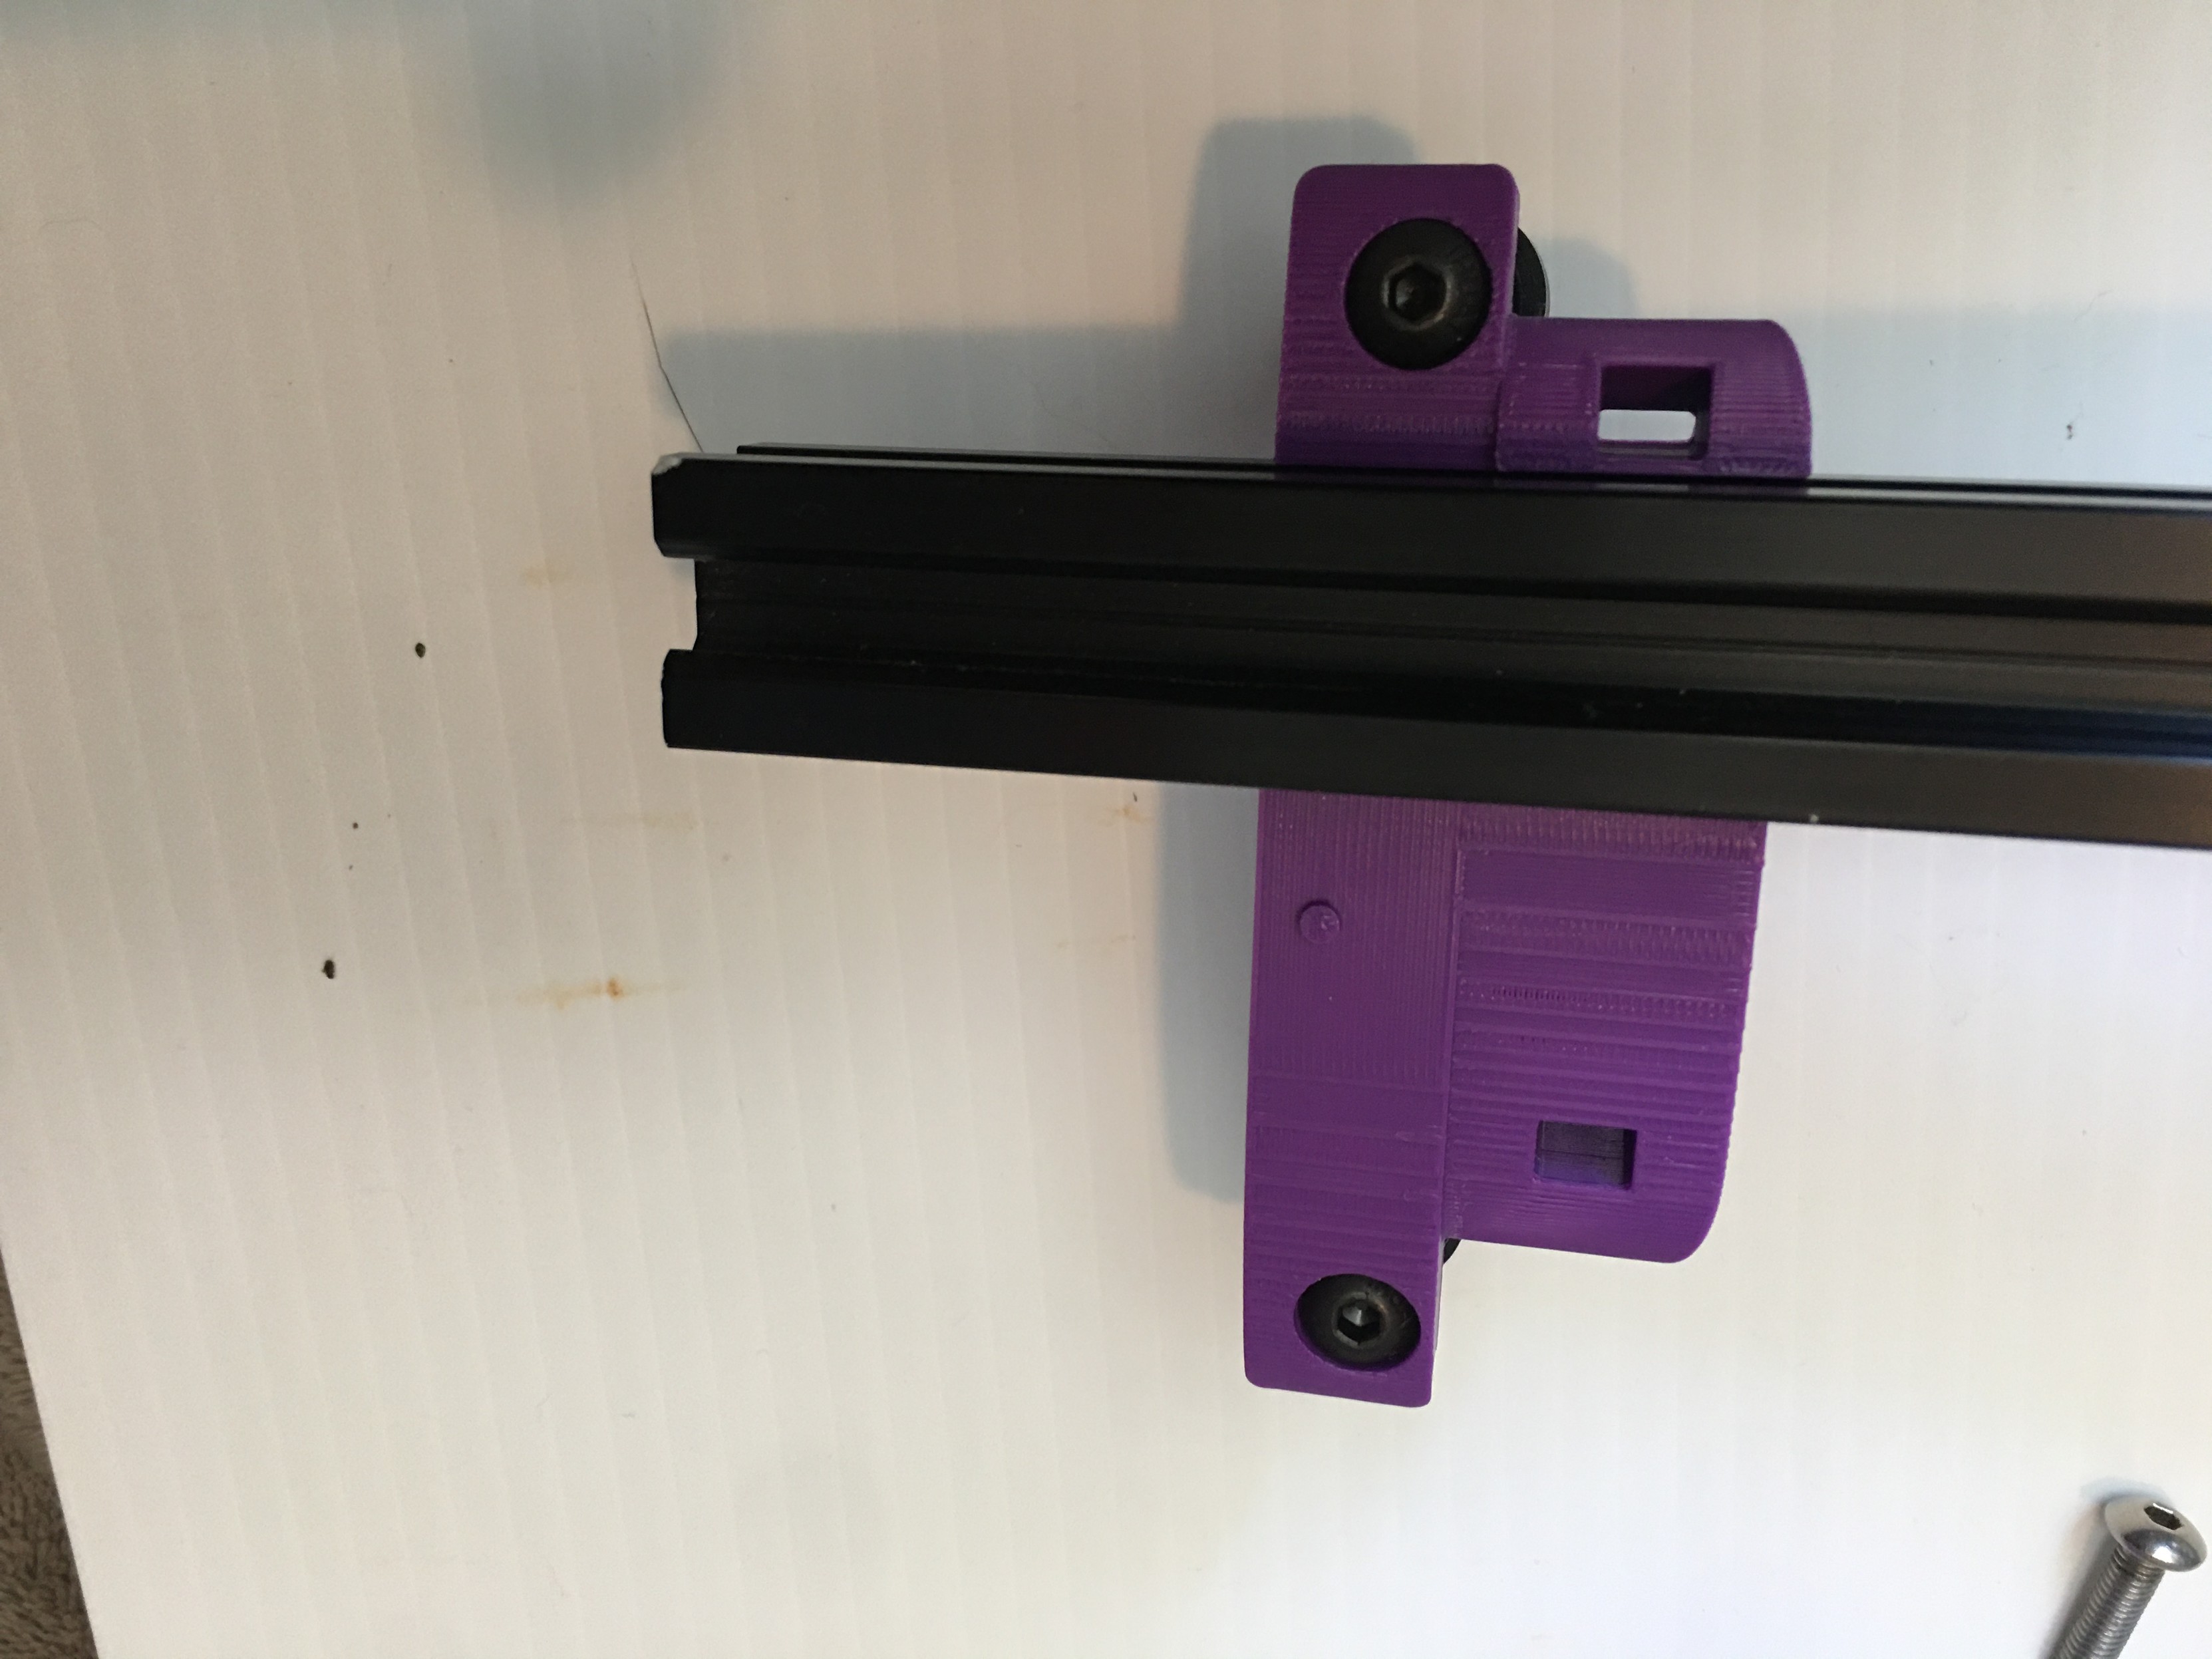
Printed left side y axis belt/roller mount

2x 3x12mm machine bolts

2x 3mm t nuts

2x 5x30mm machine bolts

2x printed wheel bushings

2x mini roller wheels

2x 5mm nylock nuts

Reply to this note

Please Login to reply.

Discussion

The belt/roller mount is the same as yesterday, mirror reversed. Assemble as before and add to left side of pen rail a few cm from the end. Exact position to be determined later. The rollers should be on the bottom, as on the right side of the rail.

Use the Allen wrench to get the 5x12mm bolt in place in the centre hole of the tensioner housing. Fasten it to The end of the pen rail, so the slots in the housing are on the side of the rail, and the nubs slide into the extrusion on the top/bottom.

Assemble the tensioner, idler pulley and printed axle as before. Screw on the tension nut and pop the result it into the tensioner housing.

Next time we’ll square, size and align the frame and rail, and add the y axis belts. Monday, maybe!

One of the design goals for the machine was to standardize on bolt sizes and lengths to make is easier to shop for. All the axle bolts are the same, 30mm. Every other bolt is 8, 12, 16 or 20 mm in length.