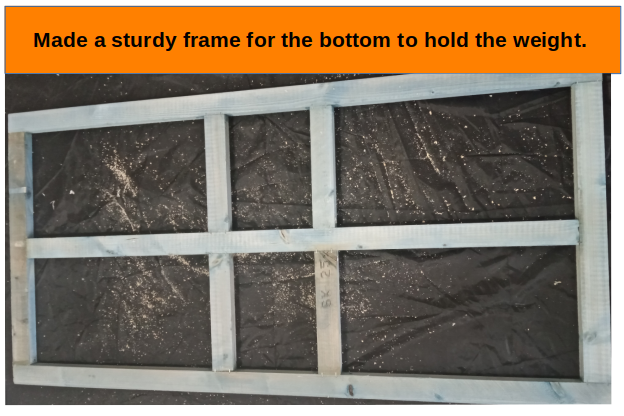
Next up was to make a strong base to support the weight of the miner and the structure that sits above.
I cut 3 long pieces of wood for the length, 2 pieces for the outer width, and 4 smaller pieces for the inner bit. I kept Fvking up the sizes so I spent a silly amount of time to sand everything down to the right size so it fits together properly. 😠💢
Now that the wood pieces are the right size, I shaped the outer portion first, glued and stapled it together, Then worked on the middle pieces of wood and did the same. I waiting a few hours for the glue to dry up enough so I could start drilling some holes through each joint. 10 screws around the edges and then 4 screws in the middle pieces. I had to drill diagonally for the middle pieces which was tricky. I put some glue on the screws here and fitted them in, you know, so it's extra secure. 😆
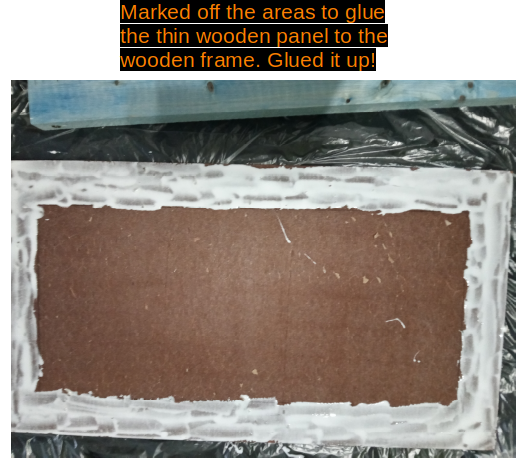
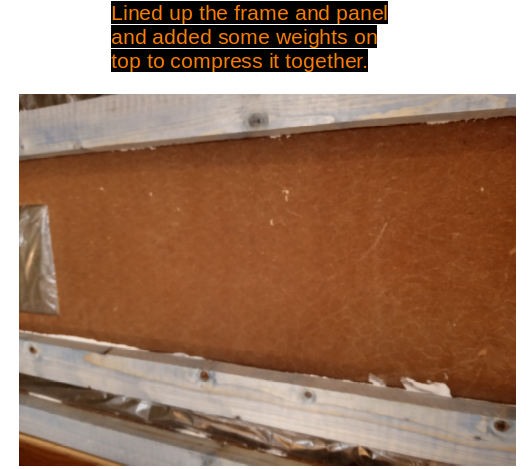
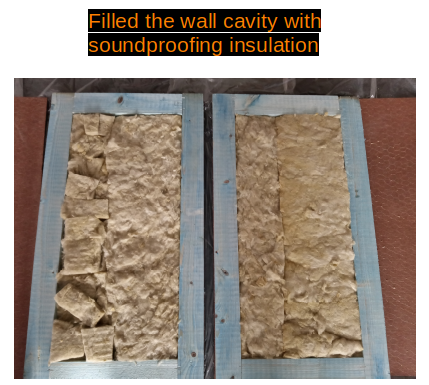
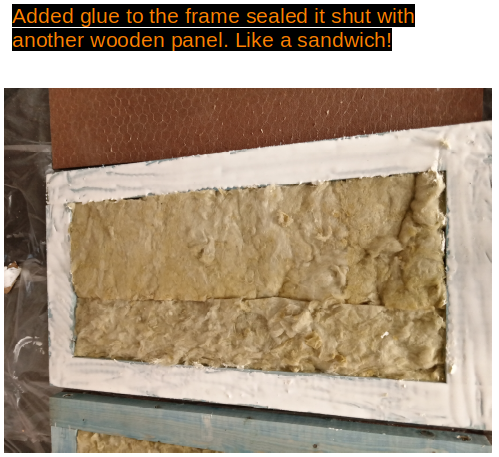
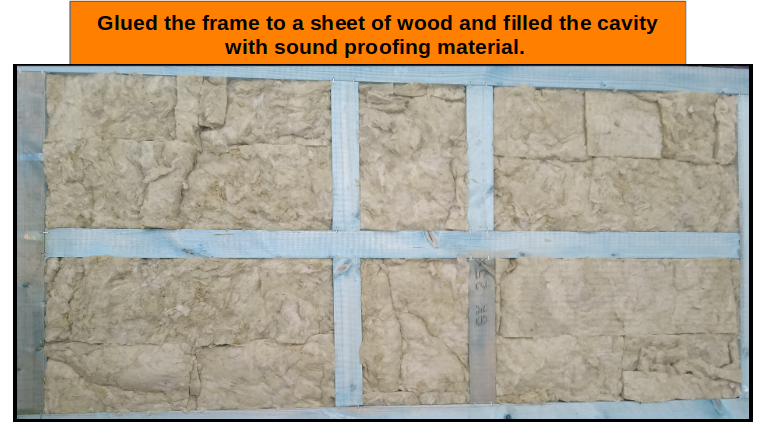
Then I glued the frame to a sheet of wood, waited a few hours for to dry then filled the cavity with soundproofing material (Rockwool). Soon after, I put some glue on frame and then sealed it off with another large sheet of wood.
✅ Base structure, DONE ✅ 😌

#DIY #Bitcoin #Mining #Woodwork #Design #Glue #Soundproofing
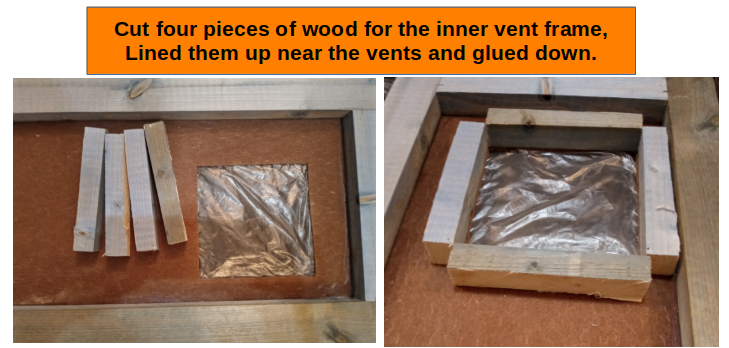
 walls
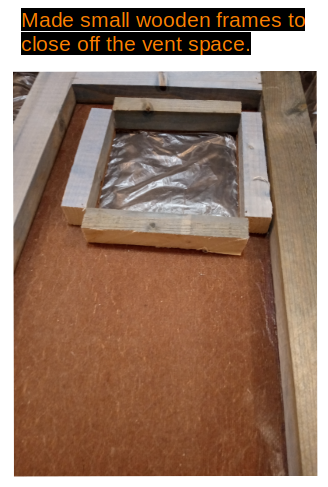
walls