avevshaping up in the last stretch!
#breadwithme part 6
(part 5 and before quoted below)
About 1hr 15 later, the stopwatch now reads 8 hr. 52m. I checked on the dough and it looks a little bigger and has more of a dome which is a good sign. If I had seen it cave or become flatter on the top, it would have meant that I went too long and/or too warm on the fermentation and that the bread was on its way to being overproved.
I gather my tools for shaping the bread. bench flour, rice flour, banneton with cloth towel and my metal bench scraper. I like shaping on my thick cutting board. the wood provides some friction for shaping.
 #m=image%2Fjpeg&dim=1920x1080&blurhash=iMFrnq_NSe%24%7EV%3DIUt7ozRjIoVrWqRjM%7BIUM%7Bogo%23D%25NG-oIURkxua%7DogofNLe.j%5DV%40j%5Bt8t7t7e.t6Iospo%23ofofadofoe&x=5e06f0e1ad8483571b97824fd191cd637871d6cb2e274041f51916c335ca55e4
As I did this, I realized that I cant take photos and do it at the same time. The motions flow into one another and stopping in between to take pictures is awkward. I'll do my best to describe.
First, flour the surface. I used to flour too little so now I err on the side of more. I have about two pinches of flour on the board here. Next, I wet my hands and release the dough from the bowl. from here, it is important to pay attention to what is the outside (crust) versus inside of the dough. The shaping from here on out is to build tension on the outside of the bread.
When I take the dough out of the bowl, the top of the dough is now down on the flour and board. in the photo, the underside of the dough that was in the bowl is facing up at me.
 #m=image%2Fjpeg&dim=1080x1920&blurhash=%5DFIN%7Ew.TD*r%3Bt6rqR.Sij%5Dt700Vr%25KtRtRxaV%40n%7EkCRjI%3BbIt8RiM%7B%252ofRjM%7BM%7BI%5BaxV%40RiadR%25aeV%40RjofI%3BV%3FjEofkC&x=a4317975bd47188507ef95d2dfeae97fe731833f6bfb0d47bbc69465d7b6c655
From here, with my two damp hands, I fold the dough onto itself by grabbing the edge and bringing it to the center of the dough. Top edge to center, left edge to center, right edge to center, etc. Sometimes it's six moves, sometimes it's more. My aim is to encase the wet, unfloured top side inside. Then I use my bench scraper and flip the whole thing.
Next moves are all about building tension on the surface. the method I opt for is to cup the dough with my two hands at the side farther away from me and pull towards me. The front side tucks under as it's dragged against the board and I tuck under using my hands. Then I give the whole thing a quarter turn using my bench scraper and repeat a few times until I'm satisfied.
 #m=image%2Fjpeg&dim=1080x1920&blurhash=%5DHIXdD%3F%5EDiVrIU5roIM%7BkCM%7B9GR4%25Mo%7DofRj%251xuogRj%25%24krRlV%3FMy%25MNKM%7CRkWBE2M%7BWFWYt7RPM%7CWFxat7V%40ofxut7jY&x=ec52481b5ff2f42bc424784401570fa7ffe126e73a6127393874ee4c3c8ce444
Then I cover with a cloth and let the dough rest for 30 minutes or so. In this case, however long it takes for me to write this note and knit a few rows.
#breadstr
I took a nap while making bread
#breadwithme part 5
(part 4 quoted below and you can breadcrumb back to previous parts also)
I went off for a nap after making dinner because I was sooo tired. Being pregnant takes so much energy out. I haven't been sleeping well either because baby gets the wiggles at night (and I get heartburn ugh)
my stopwatch timer says 7 hr 45 mins now. My dough temp was 74F-ish when I measured last. Based on my experience, the dough needs about 8-10 hours of total fermentation.
This time, I added butter which is a variable so I'm not relying on only timing. Here's how we're looking right now...
 #m=image%2Fjpeg&dim=1080x1920&blurhash=%5DGGbVL%3FaRPWBWBpxNGM%7BkBj%4000MxWBj%5BWC4TkD%252ofs%3Ag3%25Lt8a%7CWW%7EVjtS4aeWXbxM%7Bs.j%5Bs.Wqs.R%25ayWBxDofV%40j%5BWV&x=2bea48ca60567b2ada94187daf7bf358e55dcf523c918b2b10abfbc9561ed844
It has gotten poofier and I would consider this a little less than doubled. Getting close. I can shape it now and have a decent loaf but I want to push it a little bit more. The dough temp has dropped a bit to 73F. I think another hour at a slightly warmer temp 74-75 will be just about right. That determination is mostly a guess, but also intuition. Let's hope I'm right.
I'm sticking it back in the proofer for another hour or so.
#breadstr
there was definitely a feeling of hype train and fomo surrounding the launch today. I personally don't like partaking in marketing that draws from that kind of energy because of the reasons you described. lots of business are run this way because it's an effective marketing strategy that feeds off human emotion and psychology.
as an outsider, non-Apple user, I'm interested in seeing how it goes in the long term.
the easy part of making bread
#breadwithme part 4
(see below for previous parts)
the past 3ish hours have been pretty hands off. I've been doing chores around the house and knitting. Every 30 minutes or whenever I have a neat break in my tasks, I go and see how the bread is doing.
When I see that the dough has spread, it is time to do a stretch and fold. Seeing the spread means that the gluten strands have relaxed and by doing the stretch and fold, you're further stretching the gluten and strengthening it.
 #m=image%2Fjpeg&dim=1080x1920&blurhash=%5DHG%2BR8Ri4%3ARj%25M.9RONHj%3Dog00IA_2jbRjNGs-Shn%24Rk%7EVRkNKRj%25MMyt6WDbFt7ogR*%252ofoJR%2BxaofxaofxuflM%7BWBM%7C&x=db37940fa3f714d514879e049ad44b0a1d9710be942cfe89a57d8feef83fff56
It's hard to see in a photo. the dough has spread out. With the stretch and folds, I do them about 3 times. During the last set, it felt like it needed a bit more so I'm planning to do a 4th set before I leave it for the rest of fermentation.
I also noticed that the dough temp has dropped to 71F which is colder than I like so I popped it into the toaster oven. Ours has a nice proof feature that holds the temp at 80F. Since it's covered and in a glass bowl, it should bring the temp up slightly.
This latter part of bread making is a lot of wait and see and adjust. It's hard to put into words, but if you guys have any questions, I'll be happy to answer them!
#breadstr
yeah that's what I'll do but sometimes I will miss them.
I'm glad you shared your plans. Today with seeing the Purple love, I was seriously considering how I can support Amethyst in a structured, equitable way. I'm not keen on have a free/premium tier subscription structure so I'm happy to see what out of the box implementations you will have.
Amethyst all the way 💜
#breadwithme note #3
(see note 2 below)
Autolyse time is up. I didn't keep track specifically but I got the rest of the kitchen cleaned and sat down for about 20 minutes to rest with TV and knitting. I get tired so easily with this 36 week bowling ball of a baby attached to me.
Before I get started with what is arguably the most involved part of this whole process is to gather all the things I'll need. I measure out the salt 7.5g and grab the room temp butter and a butter knife. I fill a jar with water for wetting my hands. I fold up a towel that I'll put under the bowl to keep it from sliding and knocking on the counter. I grab my kitchen timer and set it for 15 minutes and I also get ready to start a stopwatch on my phone to keep track of total bulk fermentation time.
To kick it off, I measure 60g of levain right onto my autolysed dough. When the levain touches the dough is when I start the 15 minute countdown and the stopwatch.
 #m=image%2Fjpeg&dim=1080x1920&blurhash=%5DCGuq1xw9H8%7BIB%25h9a-%3AIVoI0056%7EpX4xsxBozXAxtM%7CnP%3FbIWxvWEJD%3FbE1tQxtEN%25ME1t6t7W%3FxuRjaxbcM%7BWCofofRj&x=b5aa53130176a08b8f93515af316345843cc1a6271c625753ff1647768f32941
I start off by mixing with the dough spatula cuz I'm not a fan of touching the starter directly. I'm weird like that. After it's incorporated a little more into the dough, I wet my hand by dipping it into the jar of water and letting the excess drip off.
I mix the dough in the bowl in a motion that is kind of like kneading on a flat surface. Sometimes I throw in some slap and fold type motions too. I'm gonna be mixing/kneading for the next 15 minutes and while time will be a guideline for when to do certain things, I'm focusing on how the dough feels and behaves as I move from step to step.
When the timer reaches about the 10 minute mark, I add in the salt. there's a noticeable difference in the dough before and after you add the salt.
 #m=image%2Fjpeg&dim=1080x1920&blurhash=%5DAEfD%7D%7EC4.ozRPm%2CIA9ZS4nj00-%3B%7Epoy%25L9uNxWCIVkW_MIoIUV%3FNGELIoV%5BofR*4%3At7xZ%25MxtofWBt7oMWBs%3Aogxtaday&x=be569abf4ec1518b7978a54a72acb7f0652479858654135e621eebbe4fb4c053
before adding the salt, the dough is sticky and doesn't feel like it ever comes together no matter how much you knead. If I ever get to a point where I'm getting tired of kneading but the dough hasn't progressed, it is most likely I forgot to add salt. Once I add the salt, I knead until I can no longer feel the salt grains.
Around 7 minutes, I'm a little tired but I'm half way through. The dough is getting smoother on the surface but it doesn't pass the windowpane test. It is really easy to think that the dough is ready here and in all honestly if I wanted to I could stop here and leave the rest of gluten formation to happen during the remaining fermentation time stretch and folds.
But, I persevere! The next part is something new I'm trying, adding fat to the dough. in today's case, butter 🤤
 #m=image%2Fjpeg&dim=1080x1920&blurhash=%5DFF62tMe00%251xW-p-pRPxaoe00xu%7EpIVkDM%7BM%7Bx%5DWBRkjDWVIpxuV%40RiW%3Bt8a%23n%7ENIbabFoLWBx%5DRjRiRjofkCayM%7BaxkC&x=edc875cd09c3465f4fde47afb7eb31f54dd5fef8fedc782dcbff14a0f9c9f4a4
last time I used lard and it made the bread softer and more like what I want out of daily bread. this time I added 20g butter with 4 minutes left on the timer. I'll warn you now that mixing butter into bread dough is such an emotional rollercoaster.
the dough will be slippery and squishy. it will feel like it is falling apart but then it is also smooth and getting softer. there will be so much butter on the side of the bowl and it makes me think that I've made a huge mistake and there's way too much butter. a wave of existential dread washes over me. Just keep kneading. It will work itself together again. Trust the process is what I have to tell myself repeatedly.
 #m=image%2Fjpeg&dim=1080x1920&blurhash=%5D8Amh%2Ci_01t6t6IVxaRjfRbH00tQ%7EpR*WBR*E2S4WBWC-%3AofE1t6WBWBRjj%5BR*t7ofofaxozofxuofaeV%5BNGV%40t7xtjYs%3A&x=266778c2ed25eebb49420a3e82d0b996450a00b1e60301829c2853099b728161
The timer is coming to an end and I'm no where near getting the butter incorporated so I turn it off and get back to kneading. Eventually the dough comes back together again. So much smoother, a little more slippy and it now passes the windowpane test. I can see the skin color of my finger through the dough without tearing.
 #m=image%2Fjpeg&dim=1080x1920&blurhash=%5DACP-H%5E*4oWqkBDjMxM%7BWrt701%25f%7Ep%25M%25Mx%5BIpR*WBWC%25Mxuoft6WCRlofxat7oeWCM%7BWCxtxuxtt7NGWWogWVWVWBofjt&x=725624ee18322dd17d58b57b12ff861628bc232f6a2b07e68e2b9fbef9414906
At this point, I feel confident that I've built enough gluten strength in the dough. What's left now is to align and lengthen the gluten strands through stretch and folds and for the dough to rise.
I cover the dough back up with the lid and glance at my stopwatch. I make a mental note to come back in 30ish minutes. The dough temp is 76F, just where I want it. From here, I estimate the fermentation time will be about 6-8 hours. Adding the butter is a variable that I have little experience with so I'm gonna keep an eye on the speed at which the dough is rising.
Before leave the kitchen I mix up the remaining levain scrapings (about 10g) with 32ml water and 32g flour (AP and wheat mix) to refresh my starter.
 #m=image%2Fjpeg&dim=1920x1080&blurhash=iDECIJy3-Z5i%5Emj%3A%7EVSiELTAM%2B%24uv%2CauE3NZNGnP4VDh_4I--%3Dr%3DRkogtPEerwS%7Dn5Sdi%7BWUjEa%23.7t8Nbn%2Cbbt7kBn*t7&x=6f9e62f3f0f55b4e1ff51c98da70c4f44b5739517015ba3ac7d039d1f1a4c48a
new starter on the left and old on the right. The old one is accumulating some hooch and going gray. it could still make levain and a great loaf of bread, but since I have leftover scraping from today's levain, I may as well refresh it.
Next up: stretch and folds. 3 sets, 30 minutes ish apart. it's downhill easy from here!
#breadstr
#breadwithme note #2
(see below for the first note)
the next step is autolyse which is combining flour and water to get gluten formation to start. this part is vital for high hydration doughs and one could argue that I don't particular need this step.
I do it anyway because it fits my routine and it's been working for me. This process starts with washing the dishes because I want hot water from the tap. Once it gets hot (around 95-100F) or so I fill up a jar and set it on the counter until I get to a good stopping point with the dishes.
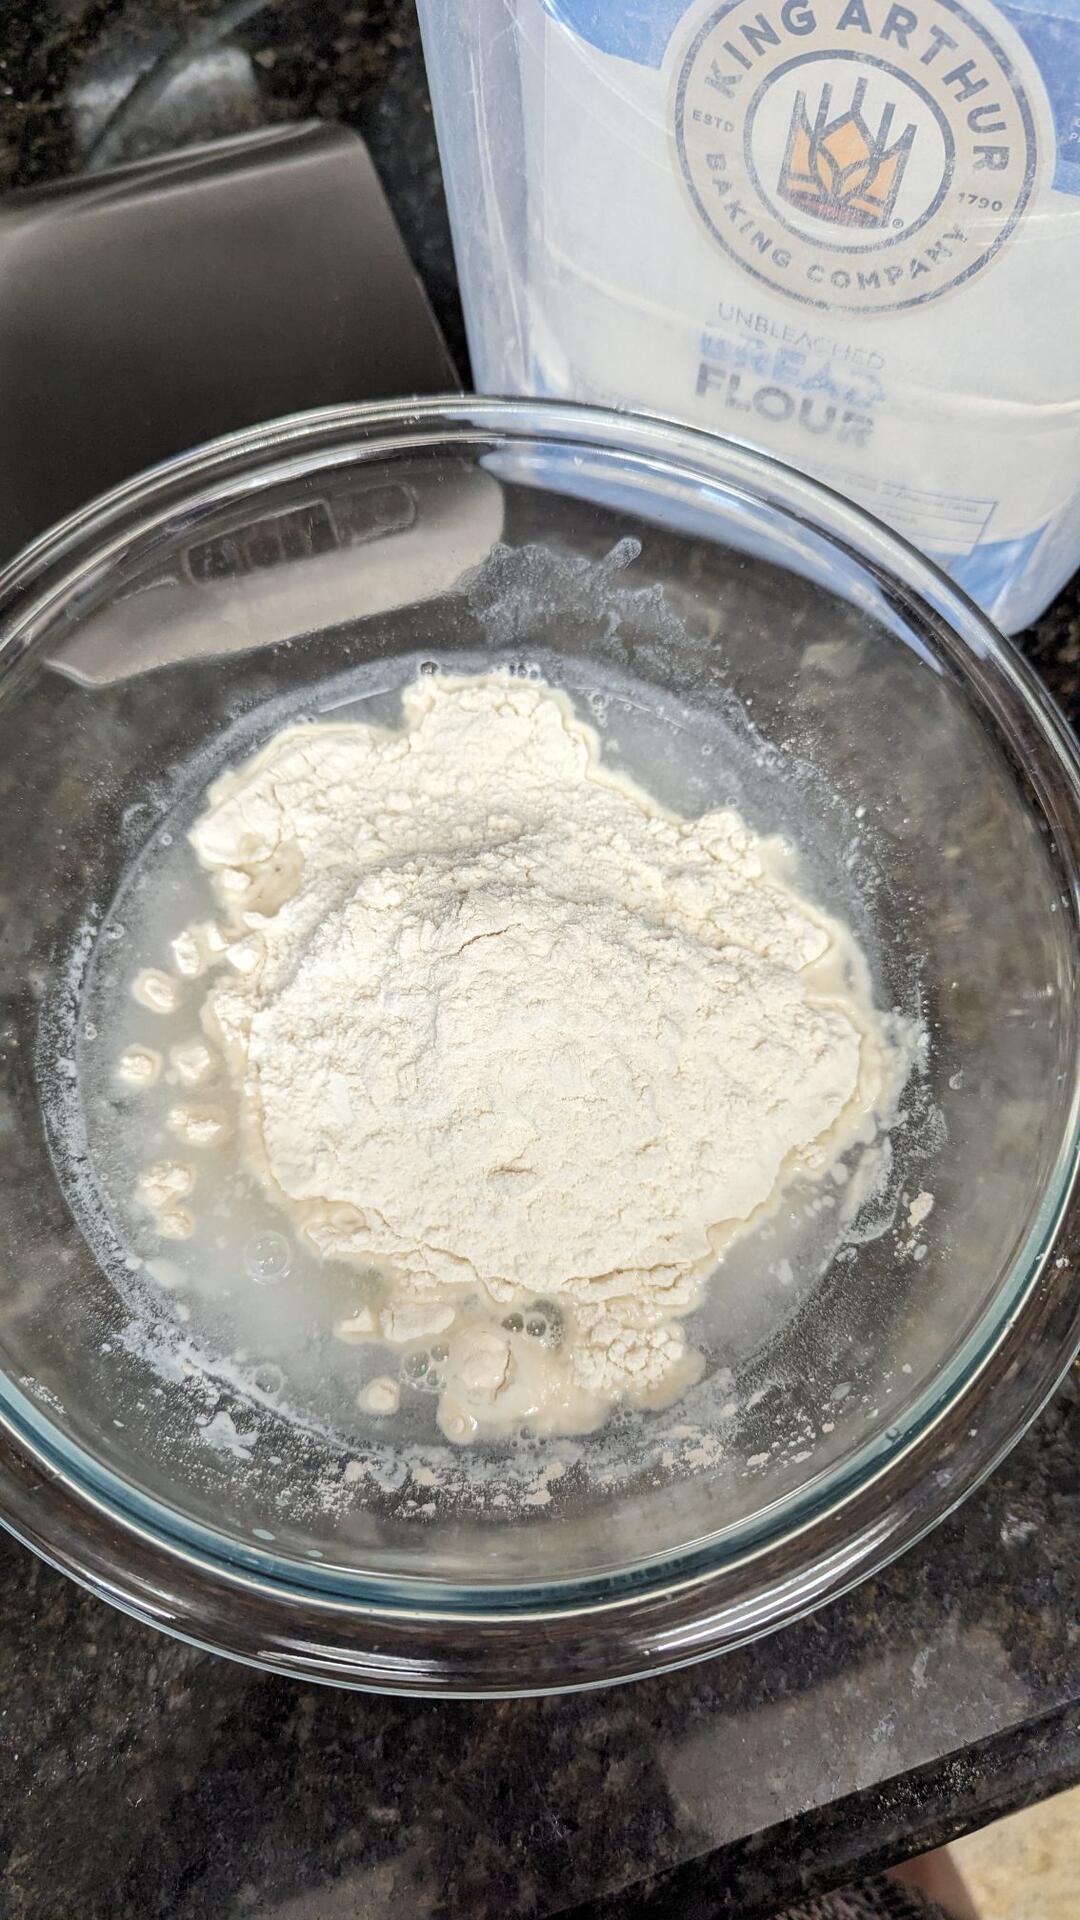
From here, I use my scale and tare out my 2.5qt pyrex glass mixing bowl. I measure 210ml water and then 300g bread flour. I've been using King Arthur Bread Flour (blue bag) it's readily available at our grocery store.
 #m=image%2Fjpeg&dim=1080x1920&blurhash=%5DII5Vs9F00flR%2B_49Ee-xto%23009F%5E*xux%5D_3WVIVxua%7E%3FGozIUayRkD*%25MRjWBfRIUxaozM%7CxtRln%7Et7oKNGbIRjt7j%5BRj&x=12e5cf5ae12d1b301fd68decbaf17a73a9f9a8c6e87ffaef71b81f6f4831c35b
I always put water first because I want flour to be on top of the water because it mixes better. Ultimately it doesn't matter that much but I have found that flour first then water is a little more tedious to mix.
You can mix with your hands and I encourage those who are beginning to bake to use their hands here. It is sticky and messy at this stage but I think it's important to be able to feel the texture change, where it is dry vs wet, how to mix it more evenly and to feel the temp.
I use my dough spatula nowadays. The motion I use to mix is a combo of scraping and folding in. I also press on the dough like you're trying to disperse water in a sponge. That's the goal here, to get all of the flour hydrated.
Here's how it looks in the beginning. Shaggy, dry. keep going.
 #m=image%2Fjpeg&dim=1080x1920&blurhash=%5DMG%2BK%5EIBD*%25MRj_3D%25aexua%7E009F-.R%25xu-%3AM%7BM%7Bj%5BkC%7EVWEM%7Ct7bIjbxvt7xtay9ZtQoeaes%3AWAoyRjM%7Bf6jZt6WBaeRk&x=57ec3f9f818ad9aebaccf900ef29cad434ae72247a076eda556b40c45ec1988a
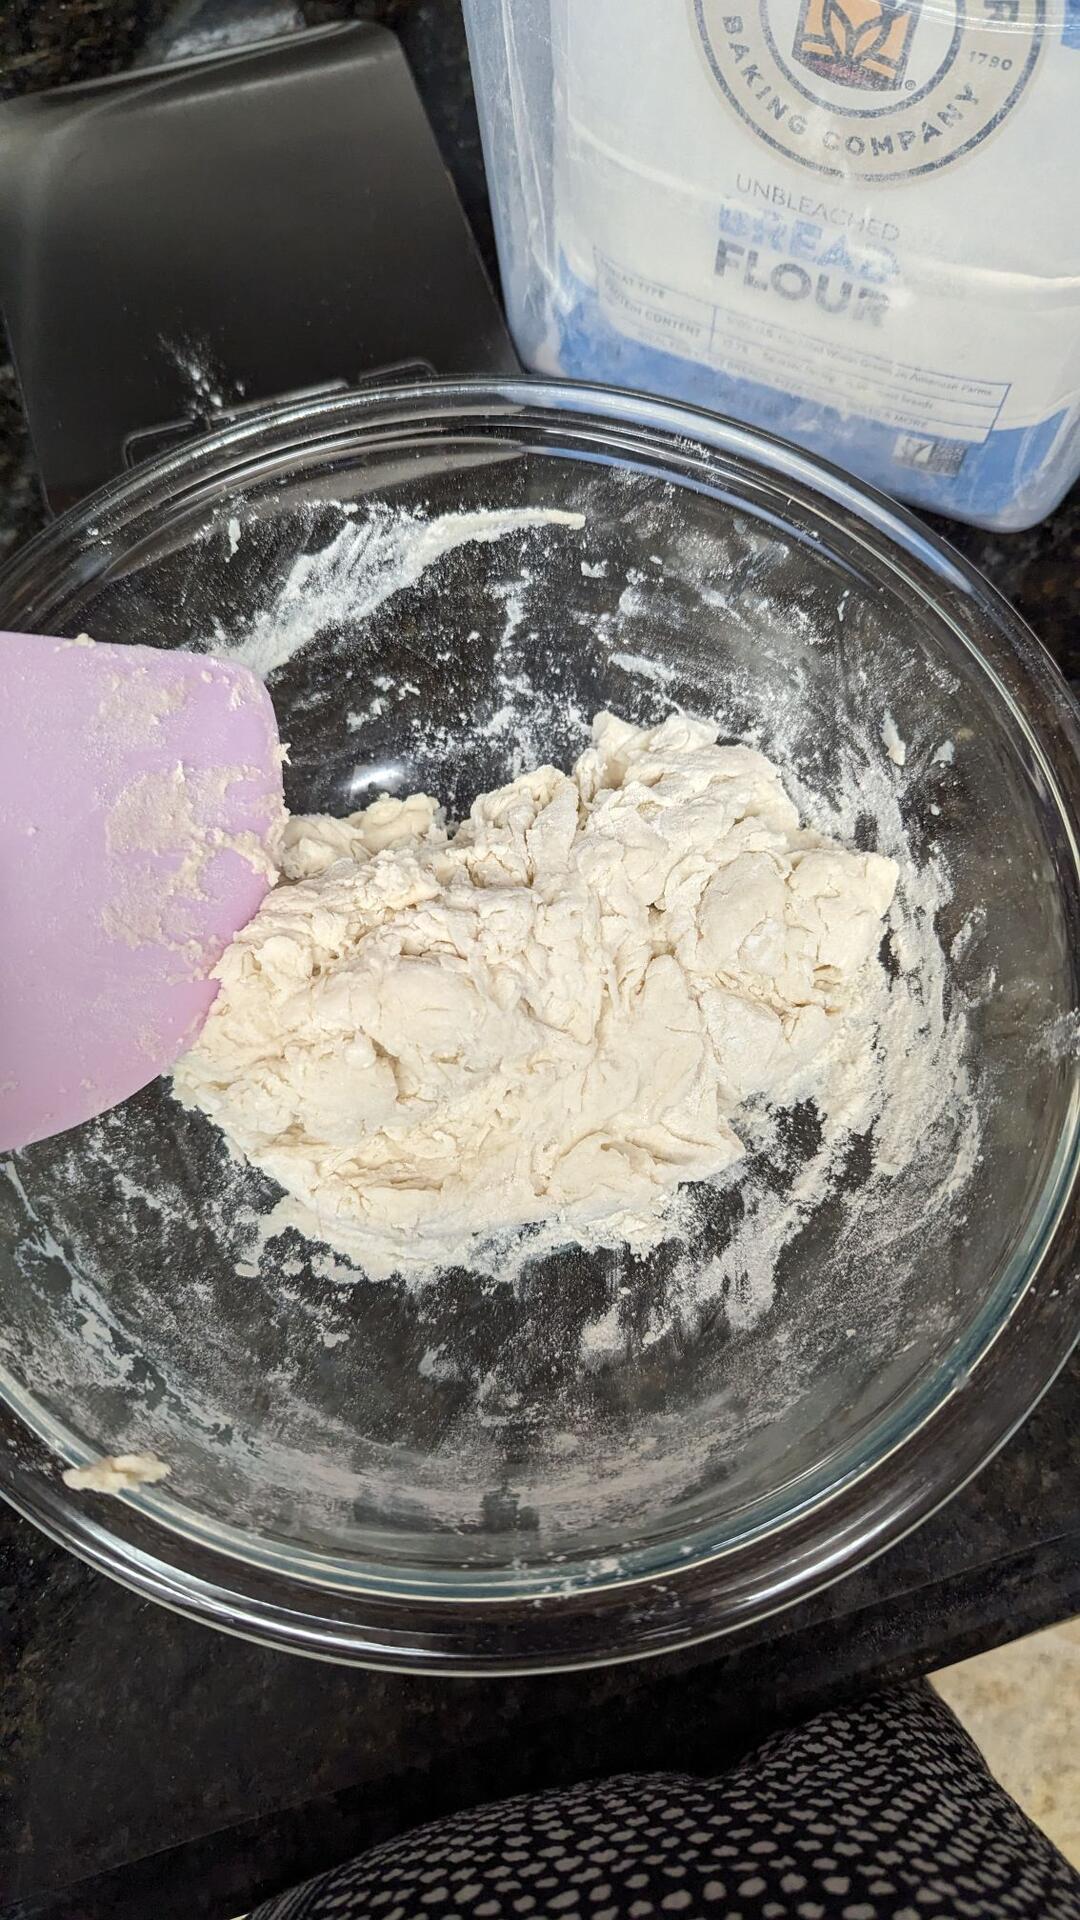
after a while it comes together a little more. it doesn't need to be smooth. it needs to be evenly hydrated. it takes just a few minutes before it looks more like this.
 #m=image%2Fjpeg&dim=1080x1920&blurhash=%5DGECtN9F0Lt7jZ_NDiRjozay0MMx%7EVRkRjX9Mx%25LkCae%7EVM%7BIV%25Lj%5B%252IURjxuWBR-oe%25LofWBRka%7Doeofs%3A%25Lt7V%40WBM%7C&x=665e98ffc3d9130d2eb01695befe4abf0a3e6e8cfb3daa5aa1f127a55cd82b71
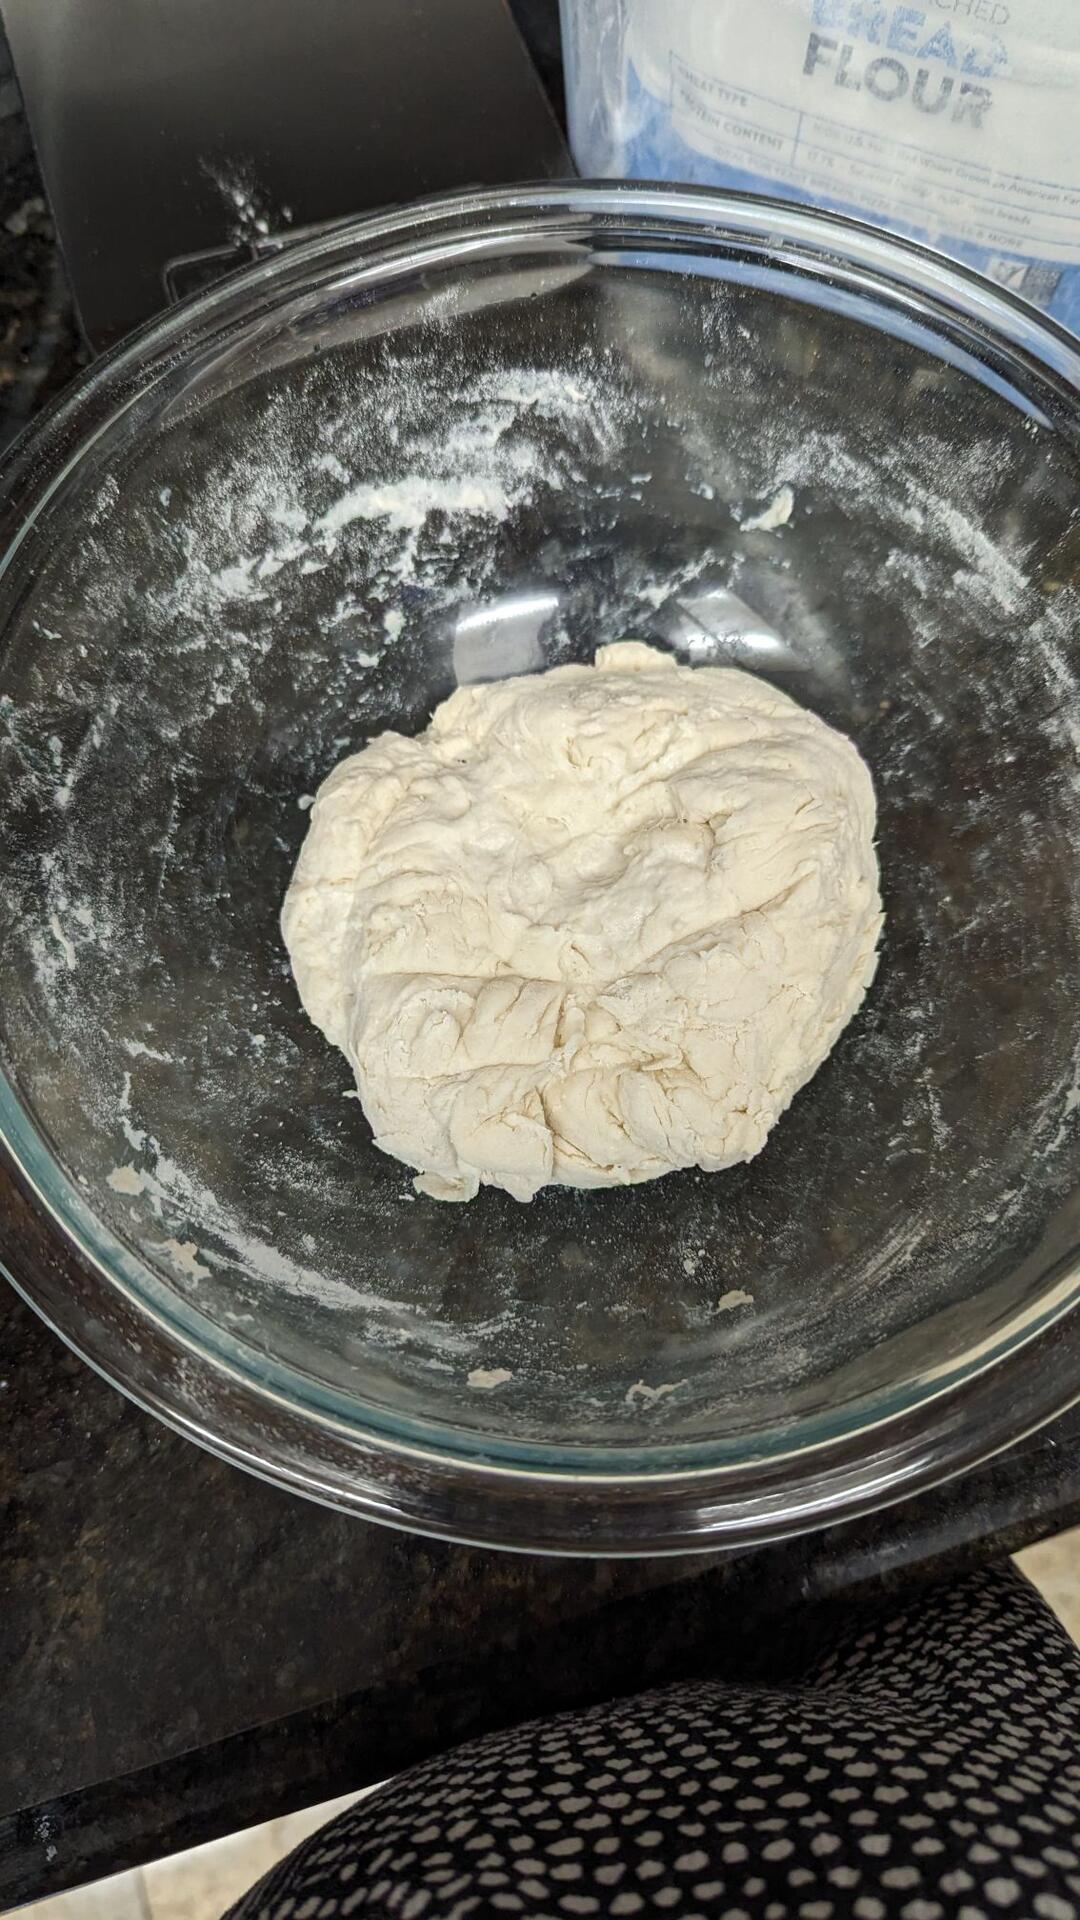
at this point, I spritz a little mist of water over it and cover it with the lid of the pyrex. the dough temp is about 85F which is high for me. I could have used less hot from the tap but it doesn't really matter because as long as I track the dough temp I can adjust timing as I go. I use an instant read thermometer to measure the temp.
And now, we wait. I usually set it on the counter for an hour but if I forget or get busy and it's two hours that's fine too. I'm gonna go clean up the rest of the kitchen and maybe get a little knitting in too.
See you for note #3 in a little while!
#breadstr
 #m=image%2Fjpeg&dim=768x1020&blurhash=_wI%3DMoaeWCjYayayae%7EWWBWCa%7DWBayWVn%24R*WBazR*j%5DWBNGbHWBfRWBj%40WBR*oLWBofjsbHays.ofWCf6j%5BWCayt7ayayfkWVj%5BfQWBWBoefRayoLj%5BWBj%5Bj%5Bf6fQfPay&x=86f2e94ce1e33ce26b2ce0c3741a33a2af174872b1edf469475ab28b9e7a0753
very nice! I'm looking forward to seeing your progress 😊
I'm doing #breadwithme notes today. gonna post notes on my entire bread making process as I go throughout the day. it will be wordy and long so I can look back for my own reference in the future.
let's begin~
woke up this morning to the levain nicely risen and ready. I picked up the ramekin to take a photo and deflated it slightly. I'm looking for visible bubbles and for the top to be flat or slightly domed which shows that it's at its peak in the fermentation cycle.
 #m=image%2Fjpeg&dim=1080x1920&blurhash=%5D8HUqE%24z00x%3DE1%3FExnkD-nNH00Nx%7EVD*xv8%7Boh-.o%7Dxt_2t6D*M%7CIV%25L9aIs%251adD*%251%25LS2WDNxW%3BMxjbt6o%7DWYMyt7V%40&x=0120fb58e4dfd2eca7dd732d412680489a6be7b8e501dfe7700a698a84ad461c
I made this levain last night using 16g of my starter which I usually keep in the fridge. this time I made the levain from starter that's been on the counter for two days since I've been procrastinating on baking for three-ish days. Since my starter is pretty well established, it should be fine, but I'll be on the look out for sluggish fermentation and adjust accordingly.
To the 16g of starter, I add 32ml of water and 32g of flour, in that order. I like to have the water in-between the starter and flour since I find it mixes better but maybe it doesn't make a difference. I mix vigorously to make sure the starter, flour and water to make sure the starter is evenly dispersed. I cover it loosely and set it on my counter overnight which has a room temp of about 68 degrees.
next step - autolyse (mixing flour and water)
actual next step - unloading the dishwasher and cleaning up the kitchen a bit.
#breadstr
ah I see.
I like how it kinda looks like a vinyl record cover with the white circle in the middle.
I love how everyone is excited about auto translate in Damus Purple. Amethyst has had it for as long as I remember so its second nature.
Very exciting to see Damus do something new and make a way for themselves to be more sustainable. Congrats!

chaotic, like four different people painted it.