
Thanks, I'm going to work my way through each of those. I should try another network to see. I don't have internet at my house, we live in the boons. I'll have to bumb usage off a friend or family member around here to rule out the network.
Given your setup, there are several areas to investigate to resolve the issue of your Bitcoin Core node not receiving inbound connections. Here are some suggestions:
1. **Double-Check Port Forwarding:**
- Ensure that your router's port forwarding rules are correctly set up for port 8333 on both TCP and UDP. Sometimes, port forwarding settings can be tricky, and a small mistake can cause issues.
- Verify that the internal IP address specified in the port forwarding rule is the correct IP address of the machine running the Bitcoin Core node.
2. **Router Configuration:**
- Make sure your router is not using Carrier-Grade NAT (CGNAT), which can sometimes interfere with port forwarding.
- Ensure that there are no additional firewall settings on the router that might be blocking incoming connections.
3. **Local Firewall:**
- Verify that Windows Defender Firewall has the correct inbound rules for both Bitcoin Core and port 8333. Sometimes, the rules might need to be more specific or duplicated for different network profiles (Private, Public, Domain).
4. **ISP Blocking:**
- Although less common, some ISPs might block certain ports or traffic types. Since you mentioned you’re on a shared office building wifi, the network administrator might have certain ports blocked.
- If possible, contact the network administrator or ISP to confirm if port 8333 is being blocked.
5. **Testing Connectivity:**
- Use a port checking tool like [canyouseeme.org](https://canyouseeme.org) to see if port 8333 is accessible from the internet. This will help determine if the port forwarding is working correctly.
- You can also use tools like `telnet` or `nc` (netcat) from an external machine to test if port 8333 is open.
6. **Bitcoin Core Configuration:**
- Ensure that your Bitcoin Core node is configured to accept incoming connections. Check your `bitcoin.conf` file for the following settings:
```plaintext
listen=1
port=8333
bind=
```
- Also, ensure that the `maxconnections` setting allows for a reasonable number of inbound connections.
7. **Alternative Network Setup:**
- Since you're running off a shared office building wifi, consider testing with a different network (e.g., a home network or mobile hotspot) to rule out any network-specific issues.
8. **UPnP and NAT-PMP:**
- Ensure that Universal Plug and Play (UPnP) and NAT Port Mapping Protocol (NAT-PMP) are enabled on your router. Bitcoin Core can use these protocols to automatically configure port forwarding.
By systematically checking each of these areas, you should be able to pinpoint the issue preventing inbound connections to your Bitcoin Core node.
Discussion

Good luck ✌️
It looks like CGNat is my hang up. The ISP is pooling us with other traffic. So I don't have an inboud IP to be pinged. Which is why my port shows open when I check the local network, but Nmap says I have 0 IP addresses.
Now I've gotta figure a way around that without having access to the account for the ISP. I'm thinking of potentially running a VPN with a dedicated IP and porting options. Or really going down a rabbit hole and learning about Tor.
Suggestions:
It looks like you're dealing with the limitations of Carrier-Grade NAT (CGNAT) from your ISP, which restricts your ability to receive inbound connections directly. Here are a few potential solutions to work around this:
1. **VPN with Dedicated IP:**
- **VPN Service with Port Forwarding:** Some VPN providers offer dedicated IP addresses and port forwarding options. By using a VPN with a dedicated IP, you can route inbound traffic through the VPN, bypassing the CGNAT limitations.
- **Steps:**
1. Subscribe to a VPN service that offers dedicated IP addresses and port forwarding (e.g., NordVPN, PureVPN).
2. Configure your device to use the VPN and set up port forwarding as per the VPN provider's instructions.
3. Use the dedicated IP provided by the VPN for inbound connections.
2. **Dynamic DNS with VPN:**
- If your VPN service supports Dynamic DNS (DDNS), you can use a DDNS service to map a domain name to your changing IP address. This is useful if you don't have a static IP.
- **Steps:**
1. Set up a DDNS service (e.g., No-IP, DynDNS).
2. Configure the DDNS to update with your VPN-assigned IP.
3. Set up port forwarding on the VPN.
4. Use the DDNS hostname for inbound connections.
3. **Tor Network:**
- Tor can provide inbound connections without needing a public IP address, but it's more complex and may introduce latency.
- **Steps:**
1. Set up a Tor hidden service on your device.
2. Configure your application to use the .onion address provided by the Tor network for inbound connections.
3. This method is more suitable for use cases where privacy and anonymity are prioritized.
4. **Remote Access Services:**
- Use remote access services that work over the internet without requiring a public IP (e.g., TeamViewer, AnyDesk).
- **Steps:**
1. Install and configure the remote access software on your device.
2. Access your device remotely using the software’s service.
5. **Reverse SSH Tunnel:**
- Create a reverse SSH tunnel from your device to a remote server with a public IP.
- **Steps:**
1. Set up an SSH server on a remote host with a public IP.
2. Create an SSH reverse tunnel from your local machine to the remote server: `ssh -R [remote_port]:localhost:[local_port] user@remote_host`.
3. Connect to the remote host on the specified port, which will forward traffic to your local machine.
6. **Cloud-based Solutions:**
- Host the service in a cloud environment (e.g., AWS, Google Cloud, Azure) where you can get a public IP address.
- **Steps:**
1. Set up a VM or container in the cloud.
2. Configure your service on the cloud instance.
3. Use the cloud instance’s public IP for inbound connections.
### Additional Considerations:
- **Security:** Ensure that any solution you implement is secured properly to avoid unauthorized access.
- **ISP Contact:** If possible, contact your ISP to see if they offer an option for a static public IP or a business account with different NAT policies.
By using one of these methods, you can effectively bypass the limitations imposed by CGNAT and allow for inbound connections to your device.
Personally i use ProtonVPN. Here's some more suggestions re: VPNs -
ProtonVPN does not offer dedicated IP addresses. However, they do offer port forwarding, which can be useful for certain applications that require inbound connections, such as gaming, torrenting, or running a server.
### ProtonVPN Port Forwarding
ProtonVPN introduced port forwarding as a feature available on certain plans. Here's how you can use it:
1. **Subscribe to the Correct Plan:**
- Ensure you are subscribed to a plan that includes port forwarding. Port forwarding is generally available on their Plus and Visionary plans.
2. **Enable Port Forwarding:**
- Log in to your ProtonVPN account on their website.
- Navigate to the "Settings" section.
- Find the "Port Forwarding" option and enable it.
3. **Configure Port Forwarding:**
- Once enabled, ProtonVPN will provide you with a port that you can use for forwarding.
- Configure your application or device to use this port.
4. **Connect to a VPN Server:**
- Connect to a ProtonVPN server that supports port forwarding.
- Use the assigned port to allow inbound connections.
### Steps to Set Up Port Forwarding with ProtonVPN
1. **Account Setup:**
- Make sure you have an active ProtonVPN Plus or Visionary account.
2. **Enable Port Forwarding in ProtonVPN Dashboard:**
- Log into your ProtonVPN account.
- Go to the "Account" section, then "Settings."
- Enable port forwarding and note the port number assigned to you.
3. **VPN Client Configuration:**
- Download and install the ProtonVPN client for your operating system.
- Connect to a ProtonVPN server that supports port forwarding.
4. **Application Configuration:**
- Configure your local application to use the forwarded port provided by ProtonVPN.
### Additional Options with Dedicated IP and Port Forwarding
If you specifically need a dedicated IP address along with port forwarding, you might want to consider other VPN providers that offer these features:
1. **NordVPN:**
- Offers dedicated IP addresses as an add-on service.
- Provides port forwarding for specific use cases.
2. **PureVPN:**
- Offers dedicated IP addresses and supports port forwarding.
3. **Private Internet Access (PIA):**
- Offers port forwarding but does not provide dedicated IP addresses.
4. **TorGuard:**
- Provides both dedicated IP addresses and port forwarding options.
By selecting a VPN provider that meets your specific needs for a dedicated IP and port forwarding, you can effectively manage inbound connections and bypass the limitations imposed by CGNAT.
Take the TOR only pill =)
Use Tor a lot. Enjoy using it with vpn. ProtonVPN meeys my needs. As does Tor.
Can you really create a .onion site to get around NAT ?
If so, wow
Yes, creating a .onion site through the Tor network can help you get around NAT restrictions, including CGNAT. This method allows you to host a service without needing a public IP address, as the Tor network handles the routing of traffic.
I am going to create a ssh server as a .onion now in a VM....Can you test?
Yes, you can definitely set up and test an SSH server accessible via a .onion address.
I was able to set up my Bitcoin Core Node to use the Tor network on Windows. (No previous networking/programming experience, just good guides and a good deal of time messing with it.) It's been running since 2:50ish PDT. I have logged inbound peers at an average of 15 minute intervals according to the debug.log. "New Inbound" peer connected at:
3:13PM PDT
3:22PM PDT
3:57PM PDT
4:17PM PDT
4:31PM PDT
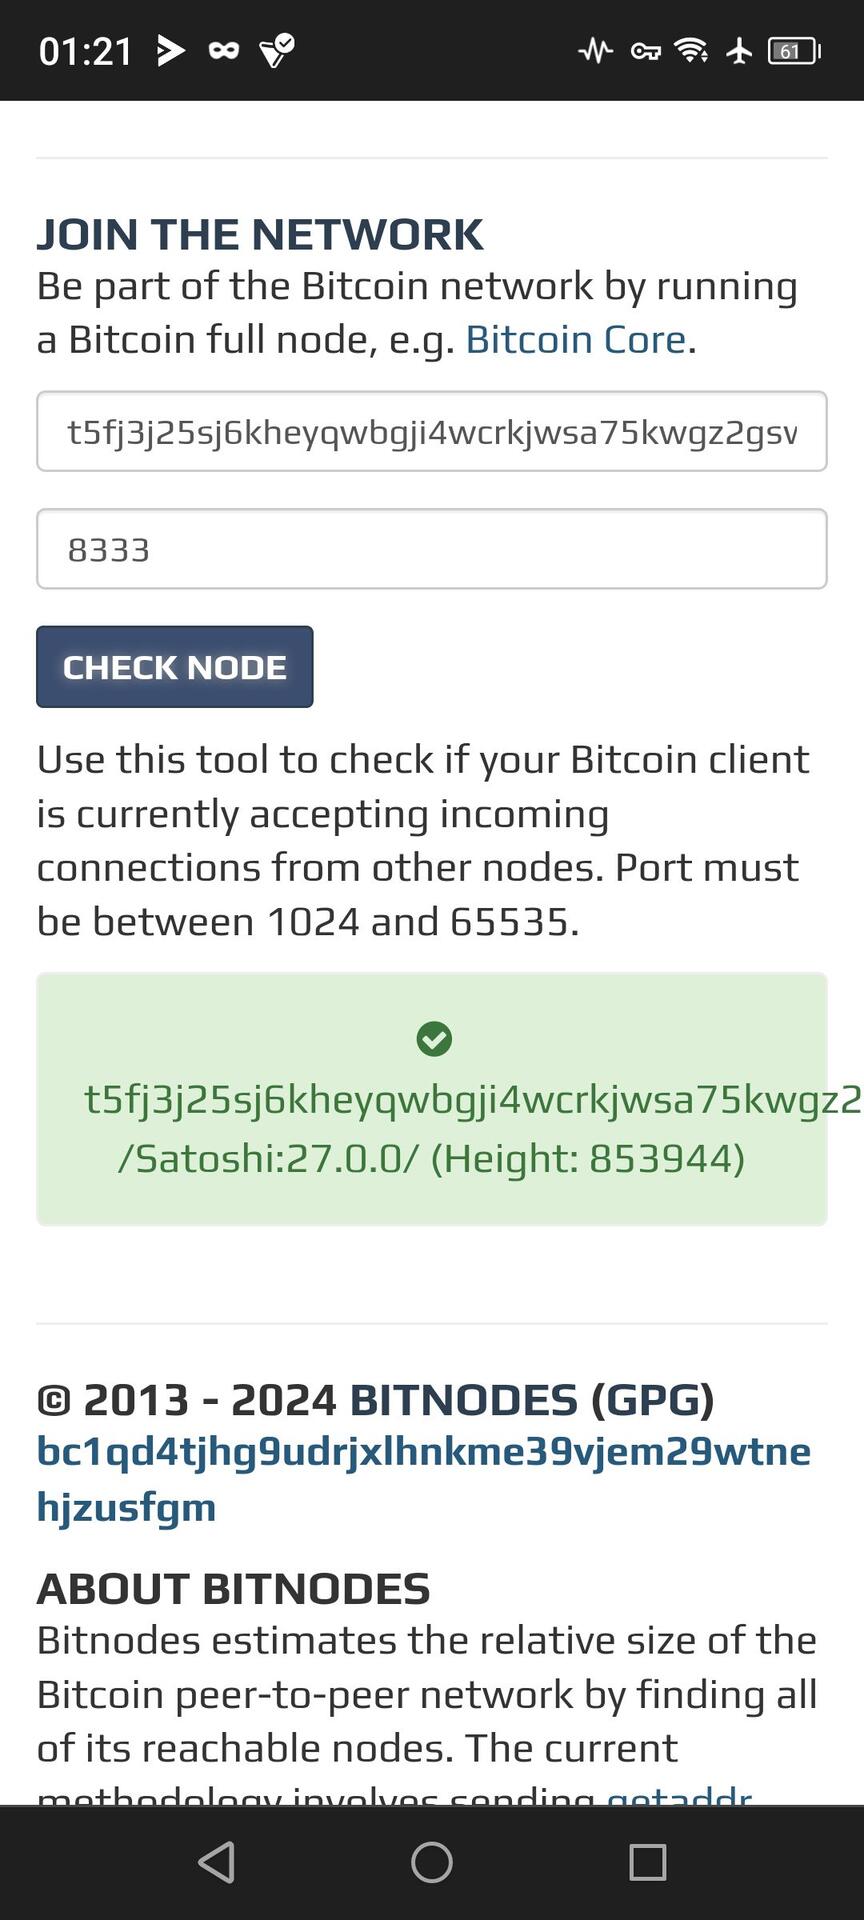
Hope that means I'm up and running, I still don't show up on Bitnodes.io, but everything seems to be working otherwise.
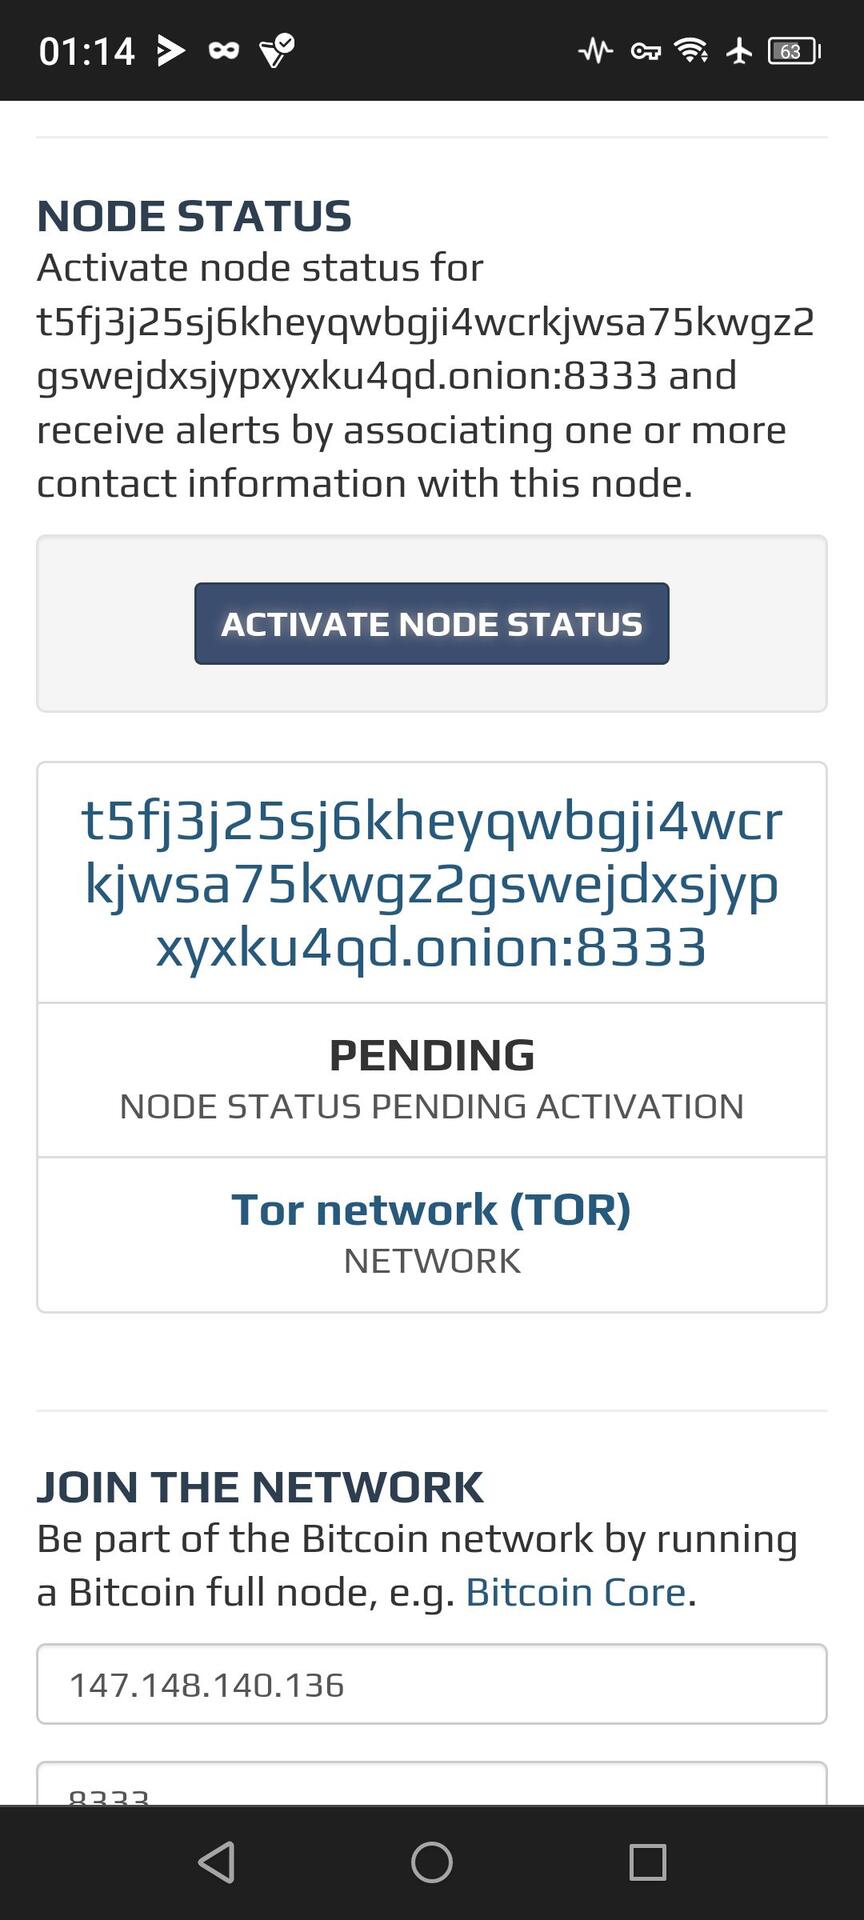
Current node address is:
t5fj3j25sj6kheyqwbgji4wcrkjwsa75kwgz2gswejdxsjypxyxku4qd.onion
If anyone can ping that, I'd appreciate it.
nostr:nprofile1qqsr836yylem9deatcu08ekfj8qj9f2aypq8ydt0w8dyng8zp8akjsqpf9mhxw309ajx6ae4wa3xzamedam85dmxvdsksan8w4mkkae5wd4kuum3wdskcenxwa3hg6t0v4hhz6mkweunw7t8df3xxat0v9jzummwd9hkutmjv4kxz7gw76h6v, just so you see that update. Thanks for the encouragement to run it with Tor. :)
I cant see the post you shared. Can you screenshot?
"I was able to set up my Bitcoin Core Node to use the Tor network on Windows. (No previous networking/programming experience, just good guides and a good deal of time messing with it.) It's been running since 2:50ish PDT. I have logged inbound peers at an average of 15 minute intervals according to the debug.log. "New Inbound" peer connected at:
3:13PM PDT
3:22PM PDT
3:57PM PDT
4:17PM PDT
4:31PM PDT
Hope that means I'm up and running, I still don't show up on Bitnodes.io, but everything seems to be working otherwise.
Current node address is:
t5fj3j25sj6kheyqwbgji4wcrkjwsa75kwgz2gswejdxsjypxyxku4qd.onion
If anyone can ping that, I'd appreciate it."
Tried but failed from my end. Tried via the terminal and via Tor. But no joy 🤔
Seems to see it now!? 🤔✌️
Rock on! Thanks for your help :)
Here's a link to Jameson Lopp's site. Very helpful.
https://www.lopp.net/bitcoin-information/full-node.html
🤙
Thank you, that should be helpful. The only thing I noticed was that in order for my node to have an onion address, I needed to have Tor Browser running. I think there's a way to tie the Tor service to Bitcoin Core, but I'll have to work on that tomorrow.